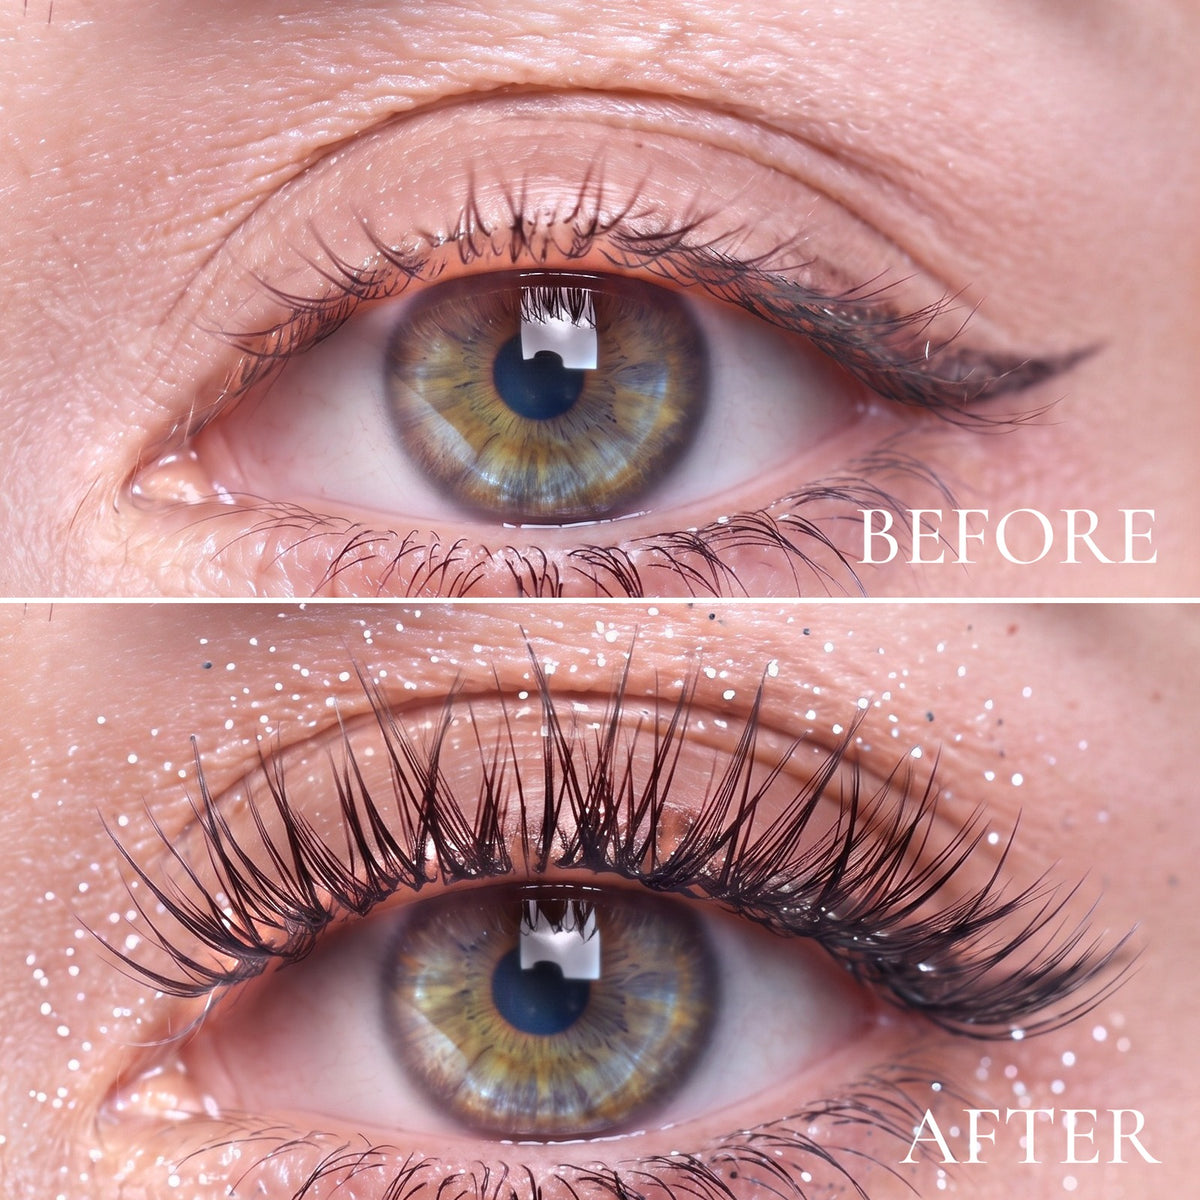
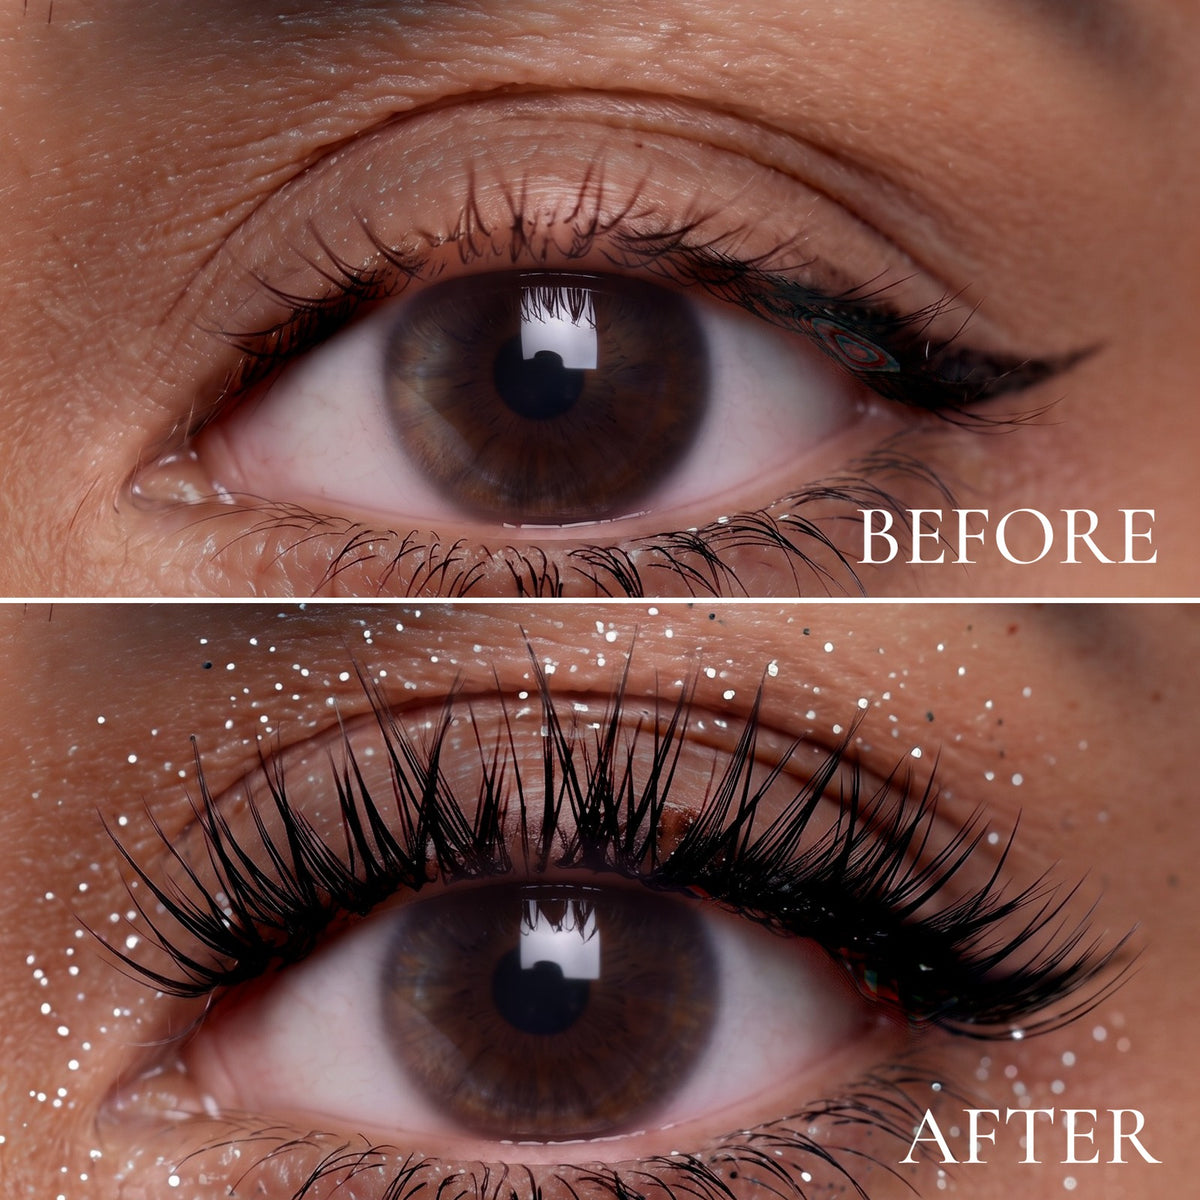
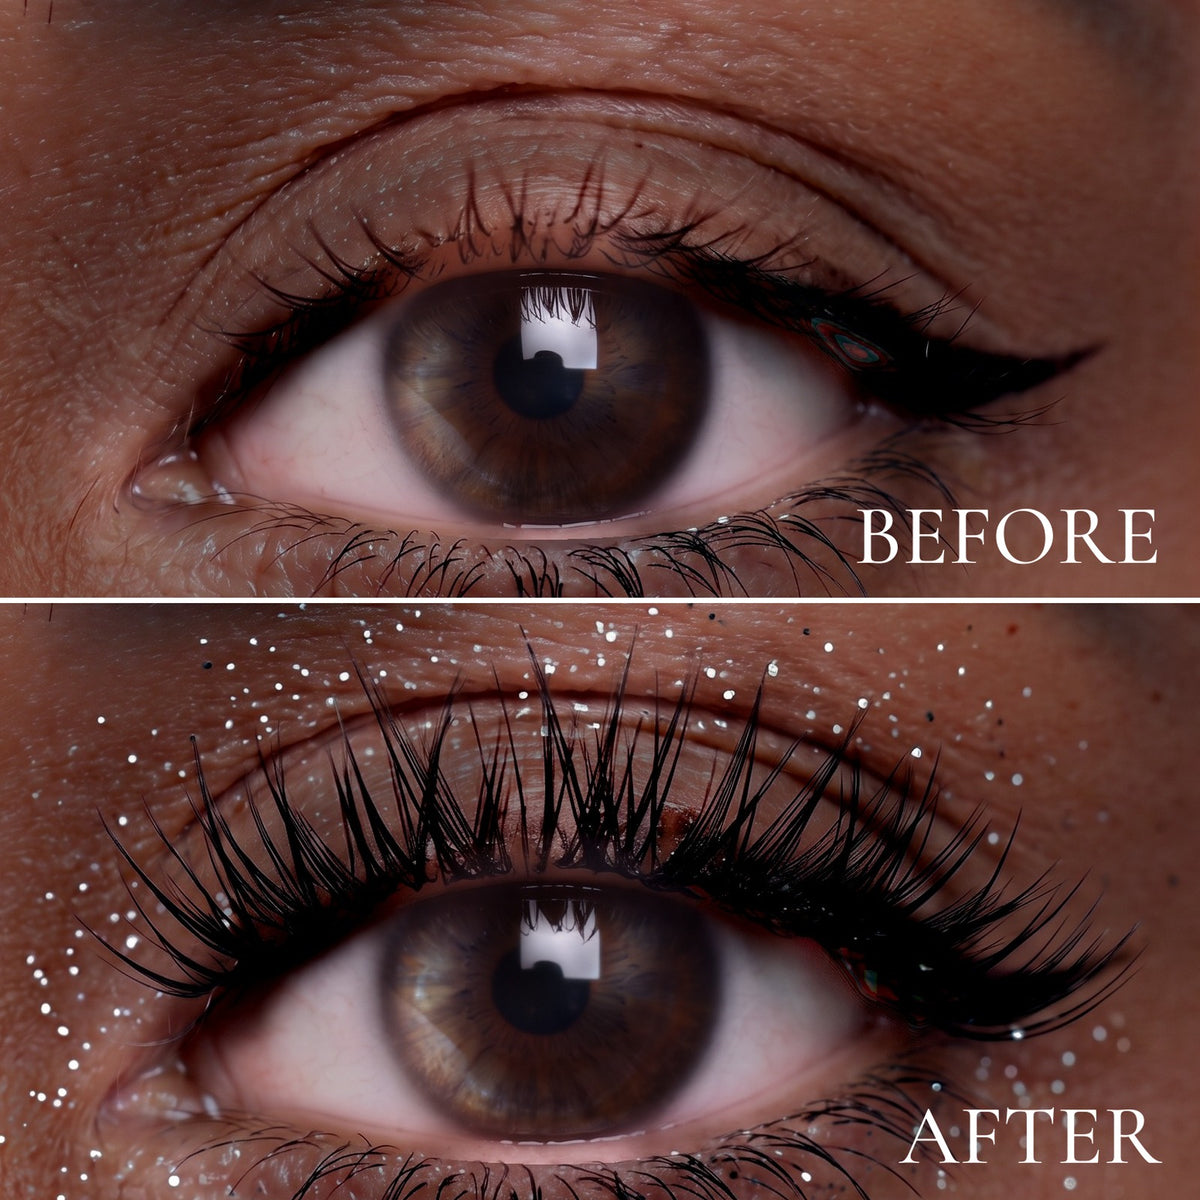
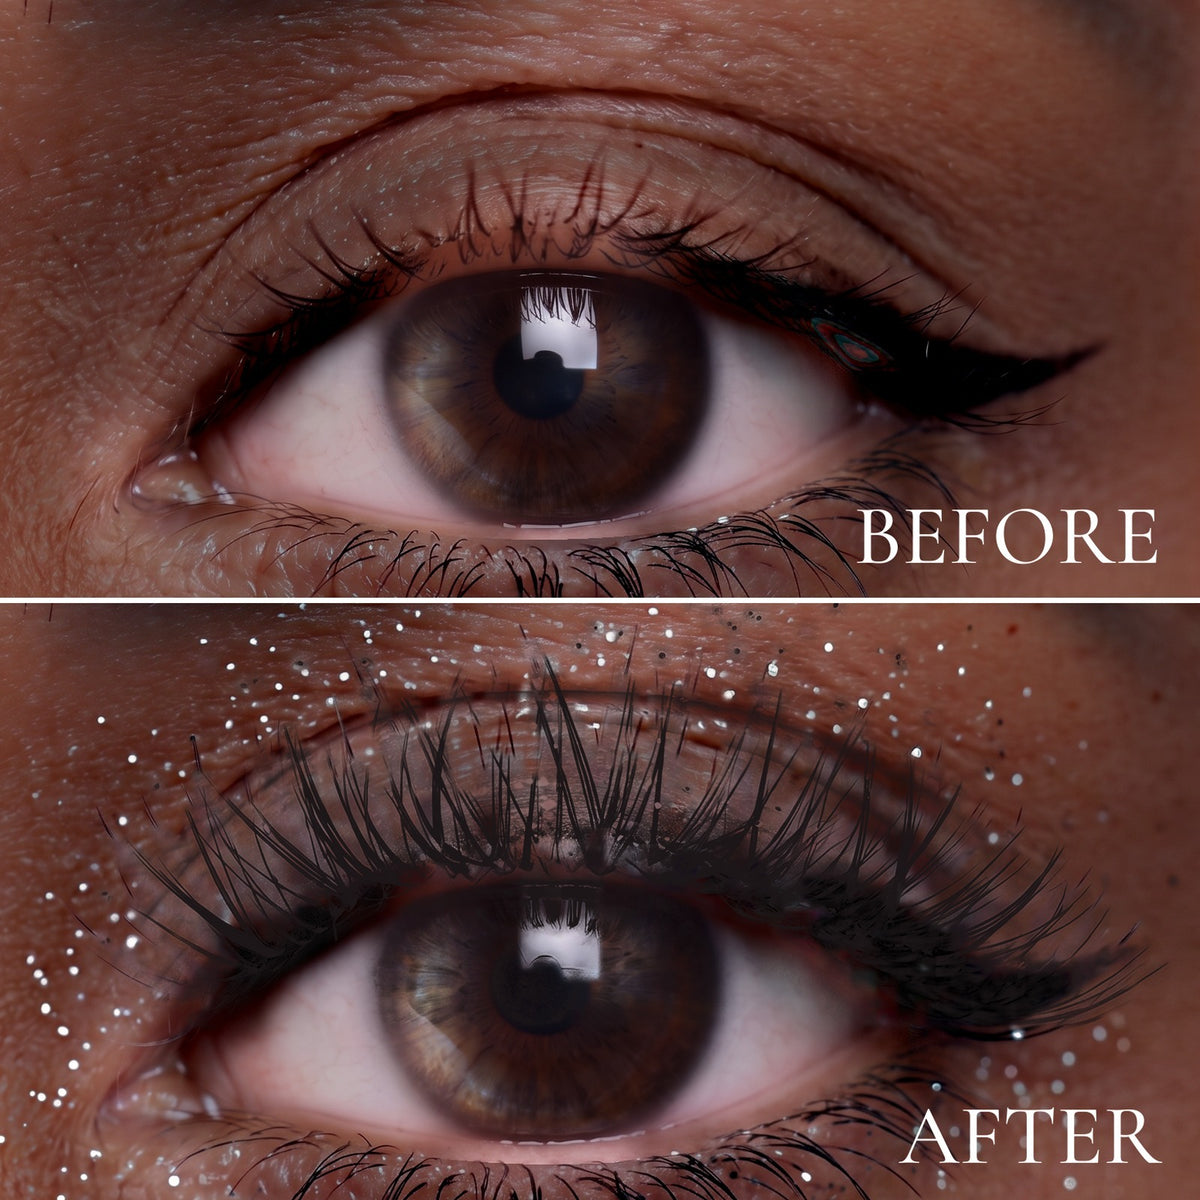
How to apply
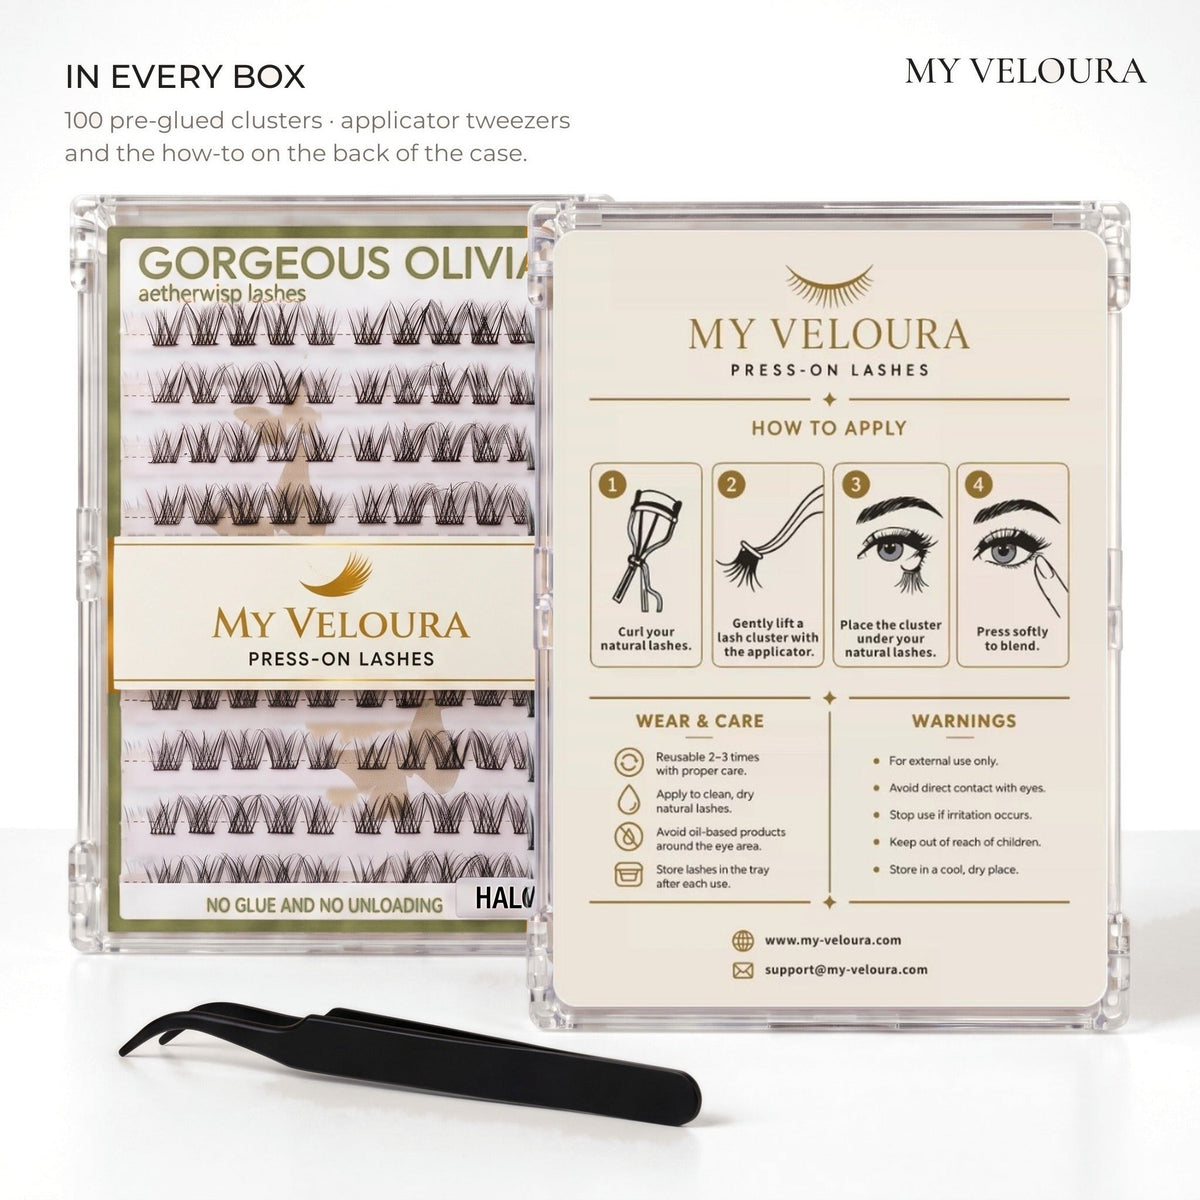
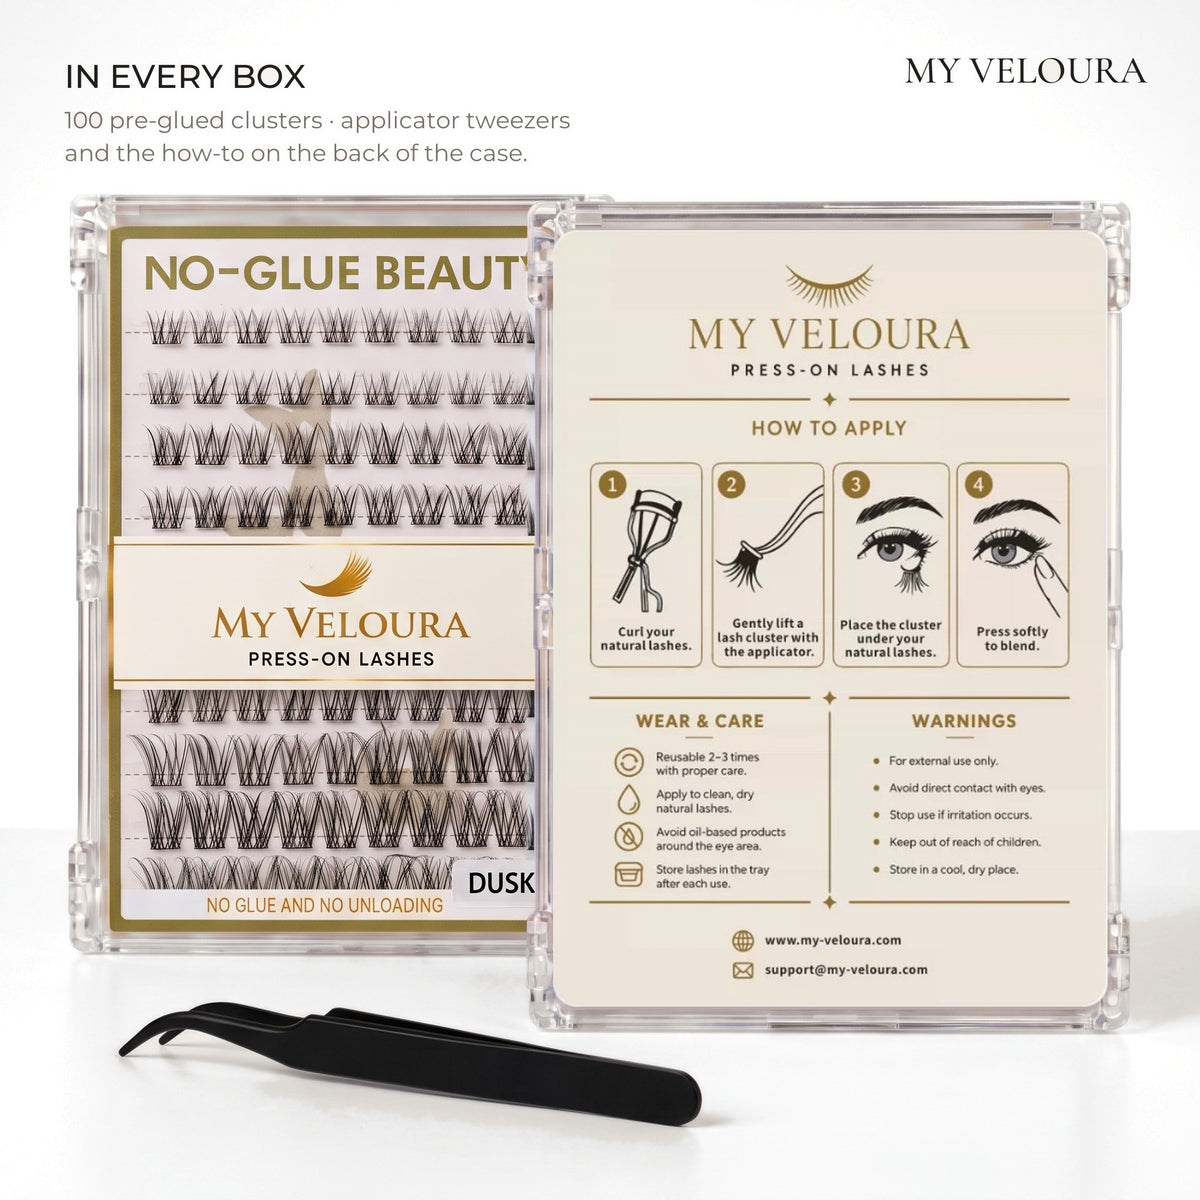
Four steps, and you are done
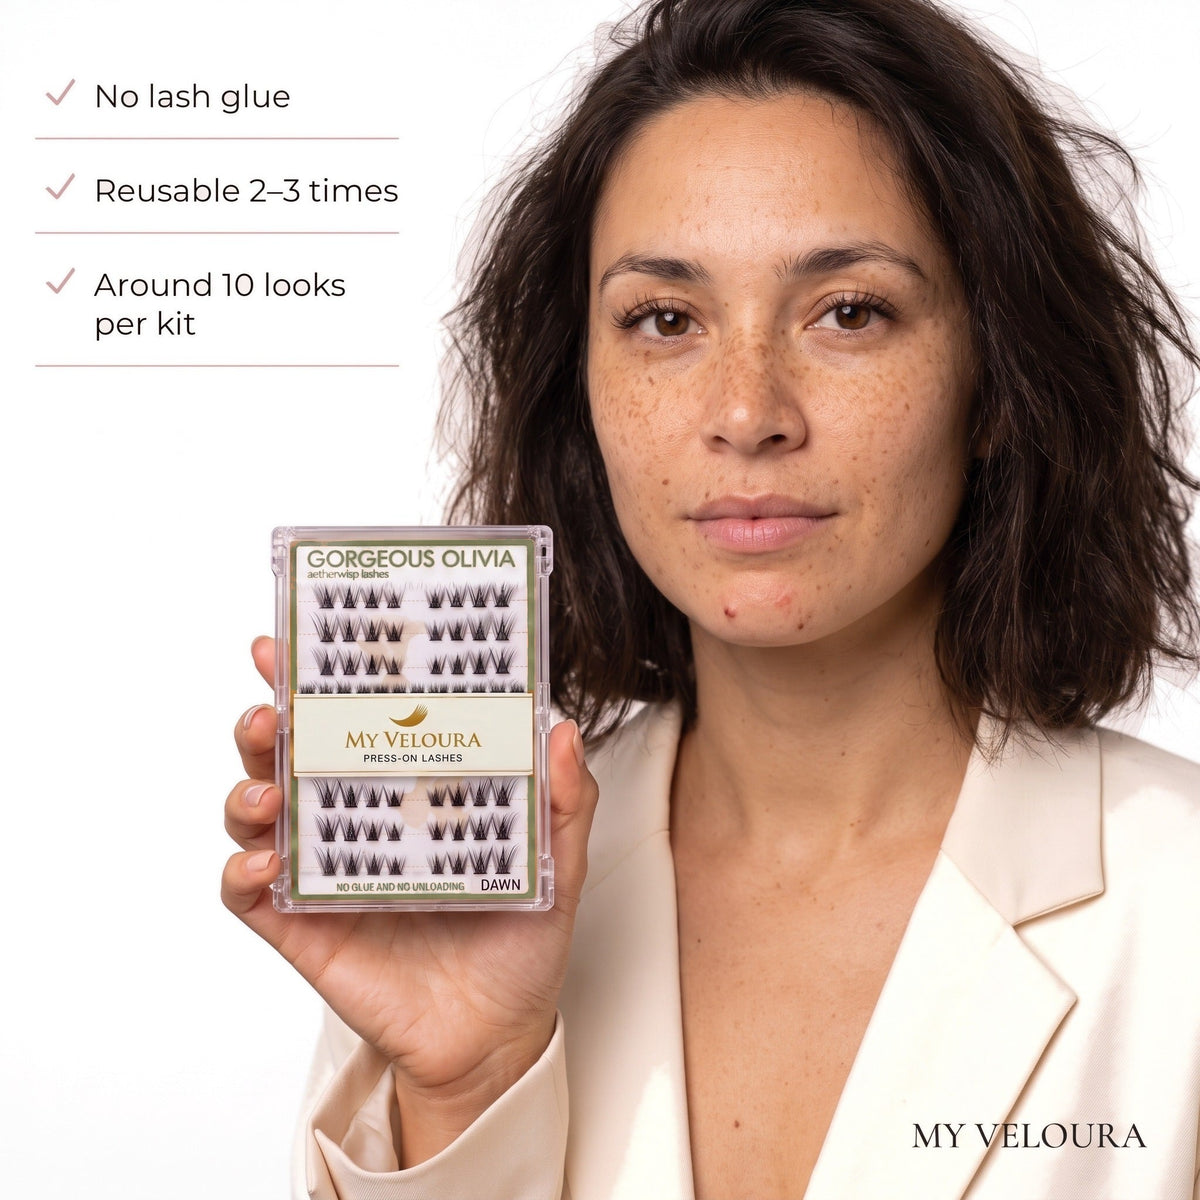
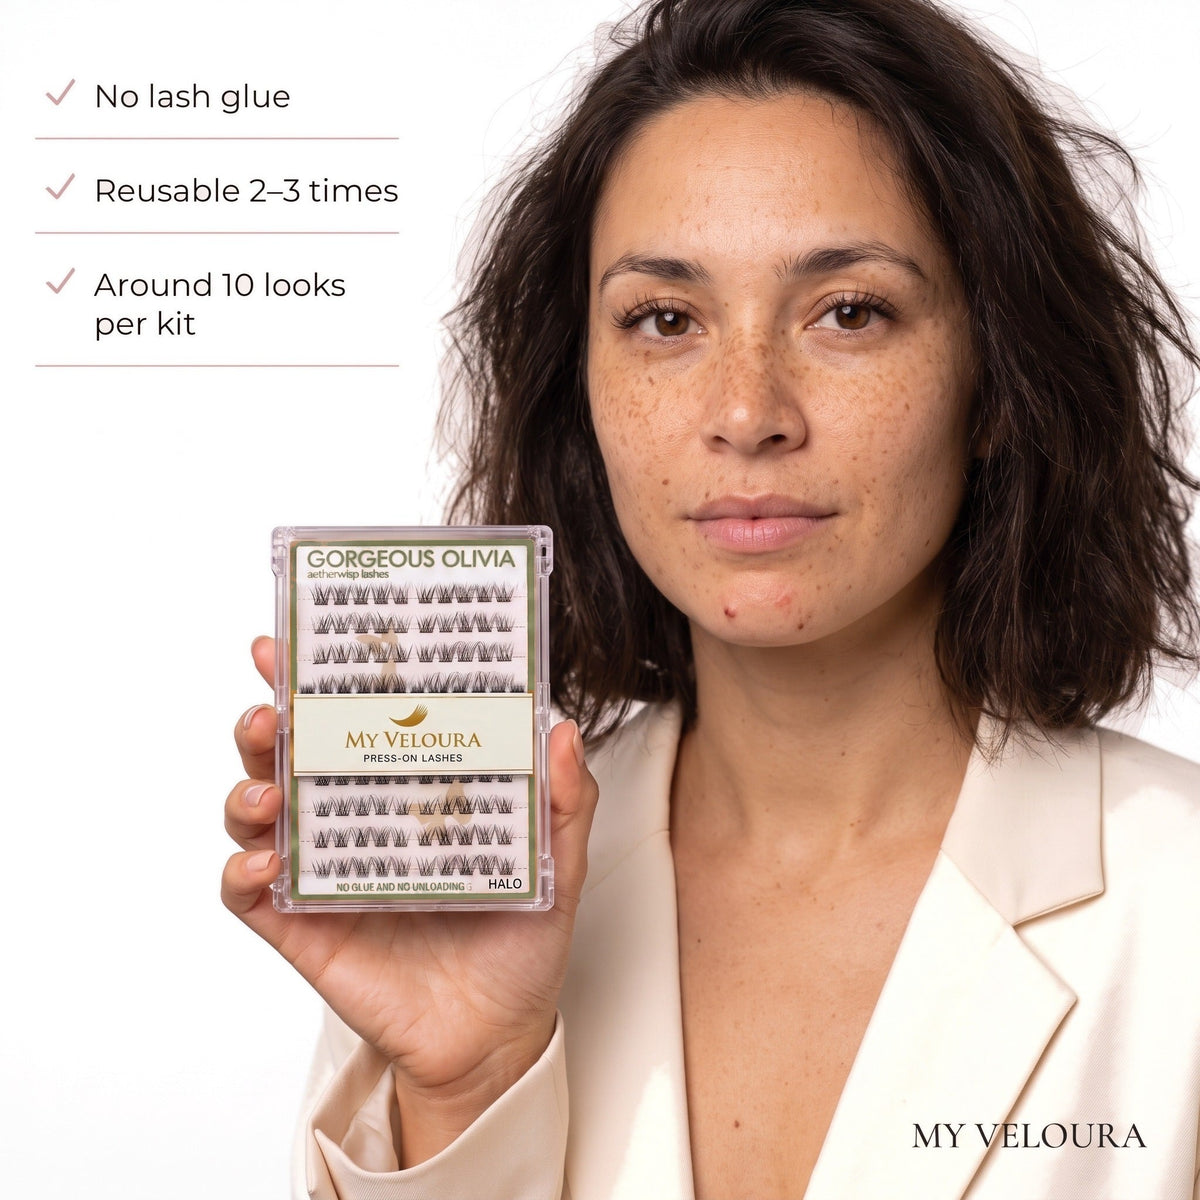
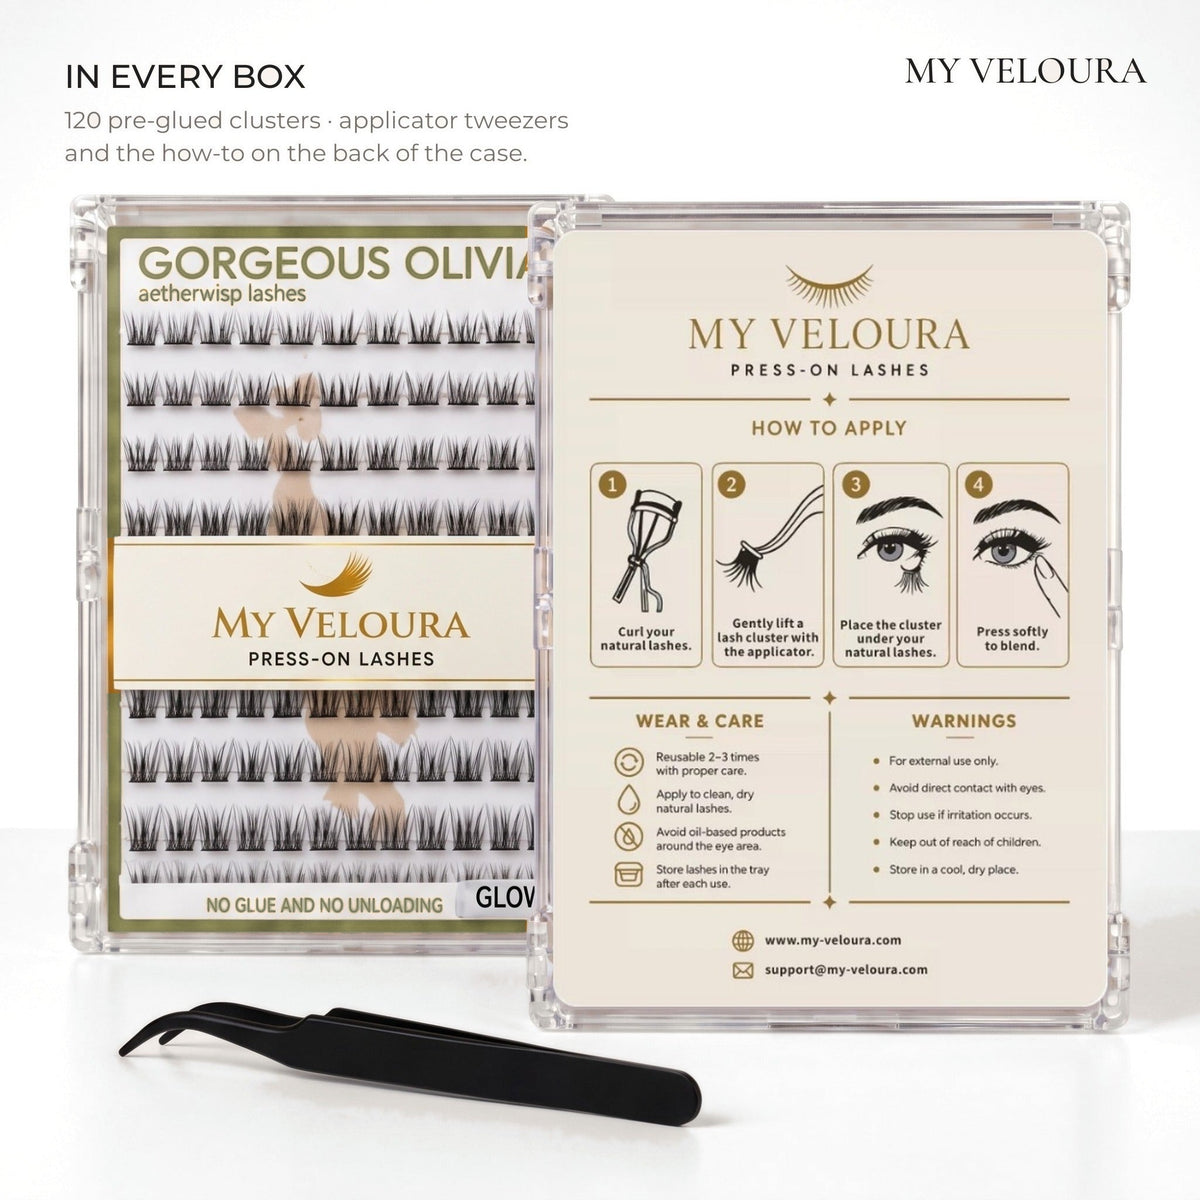
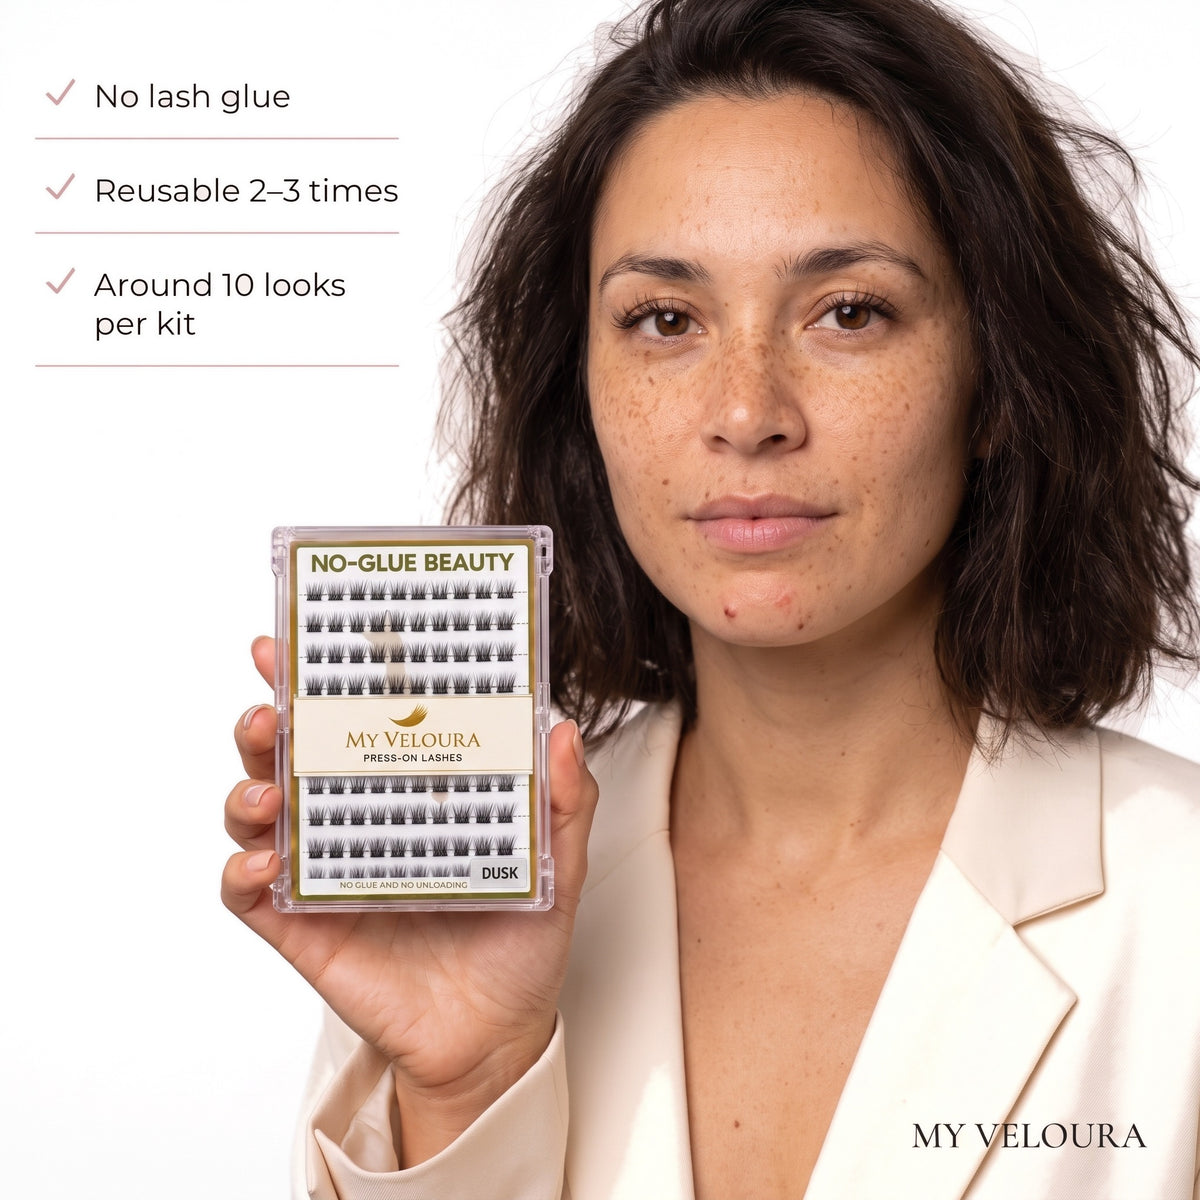
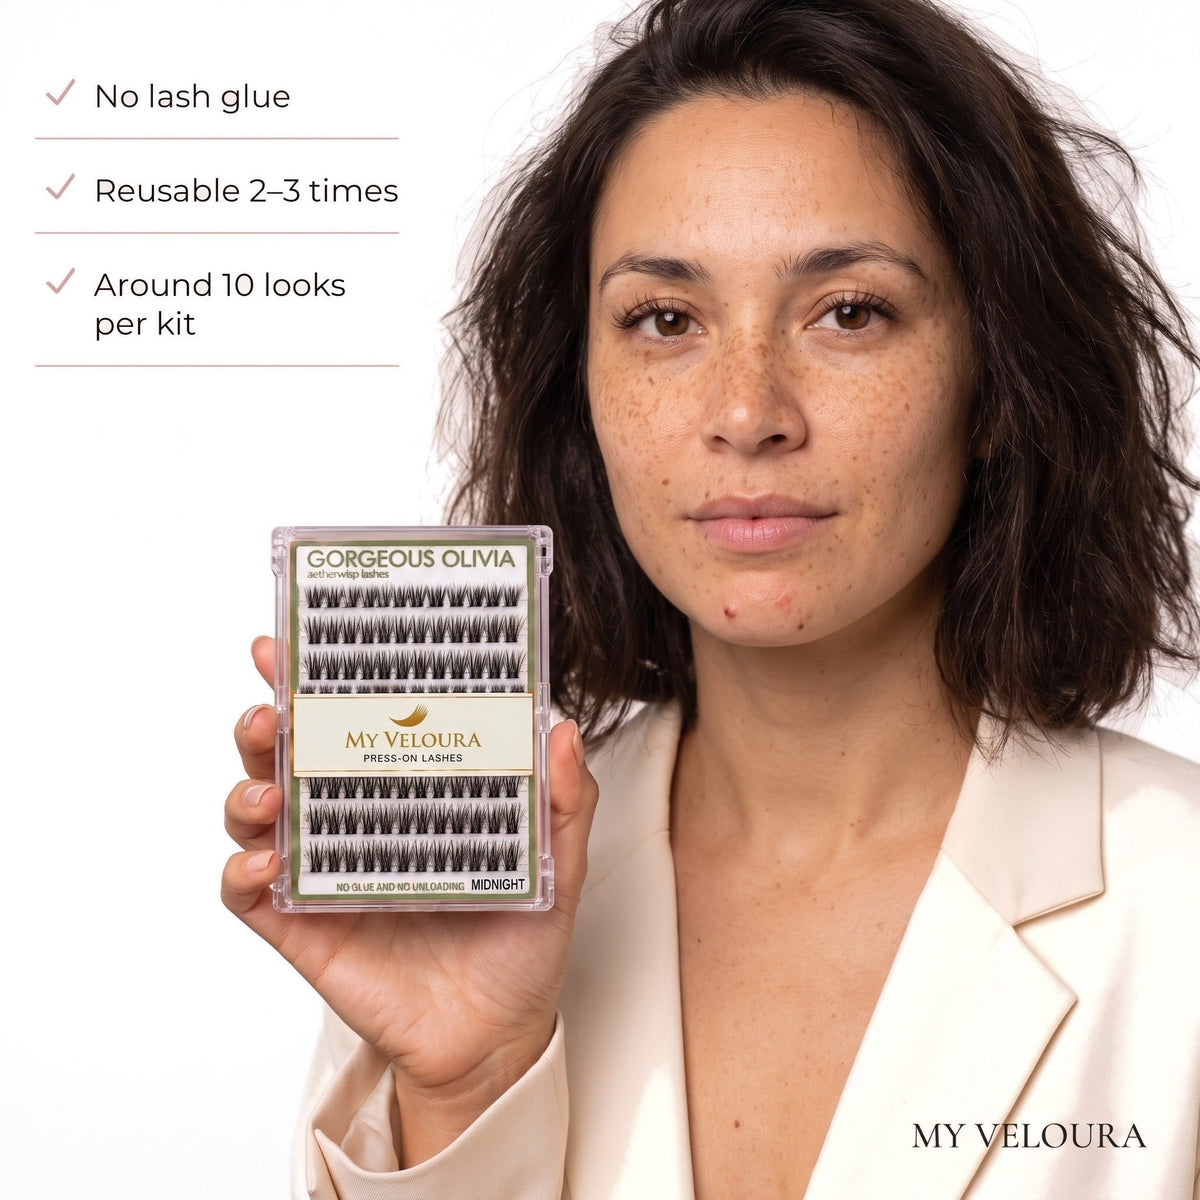
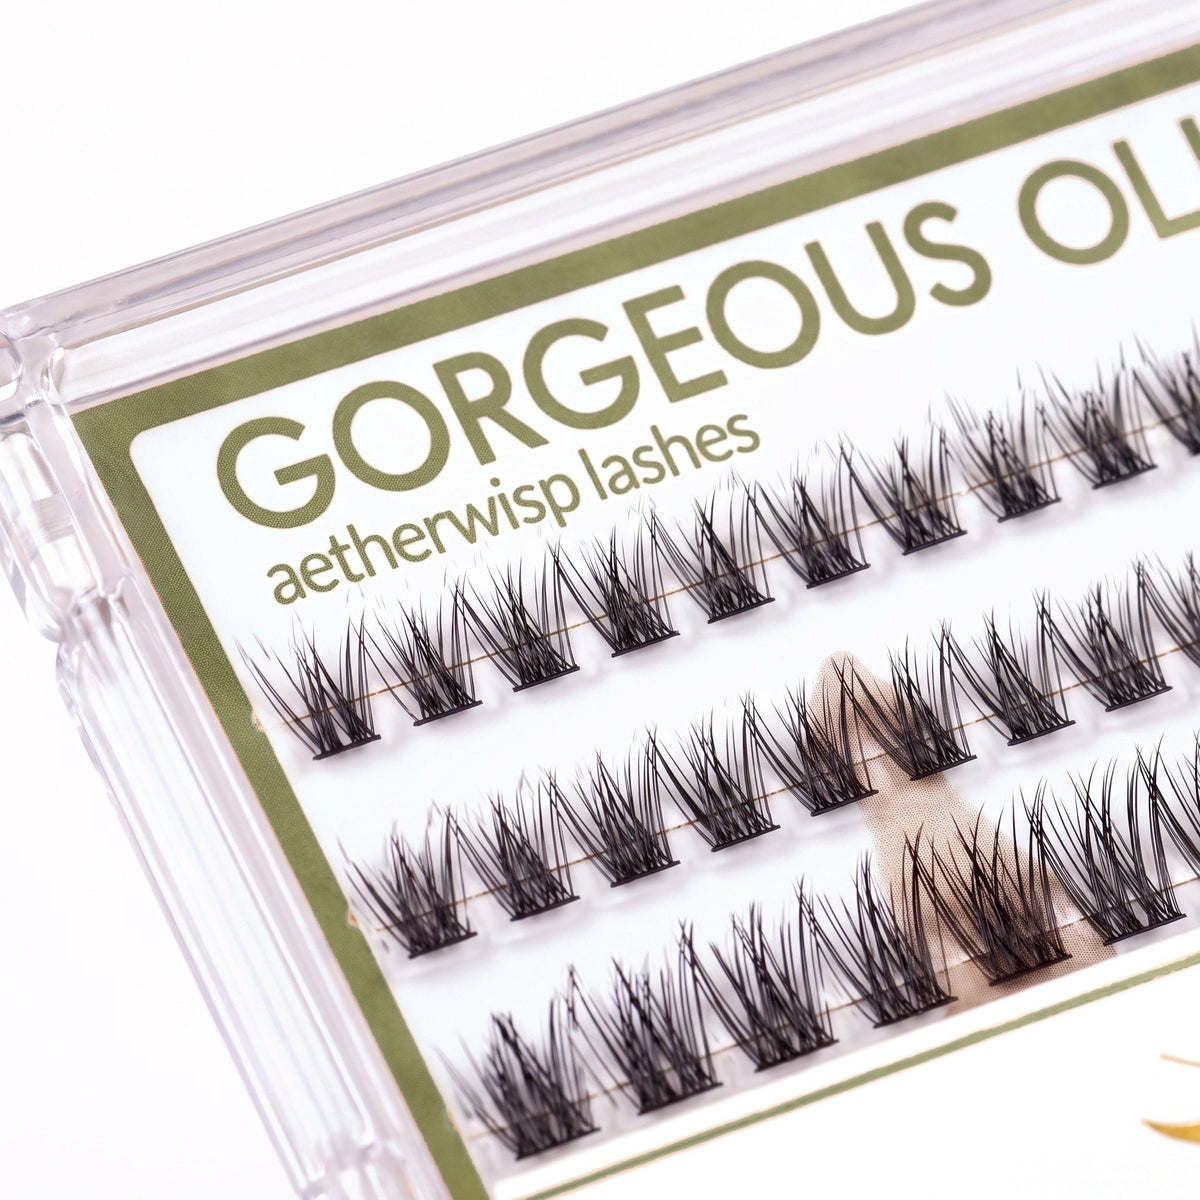
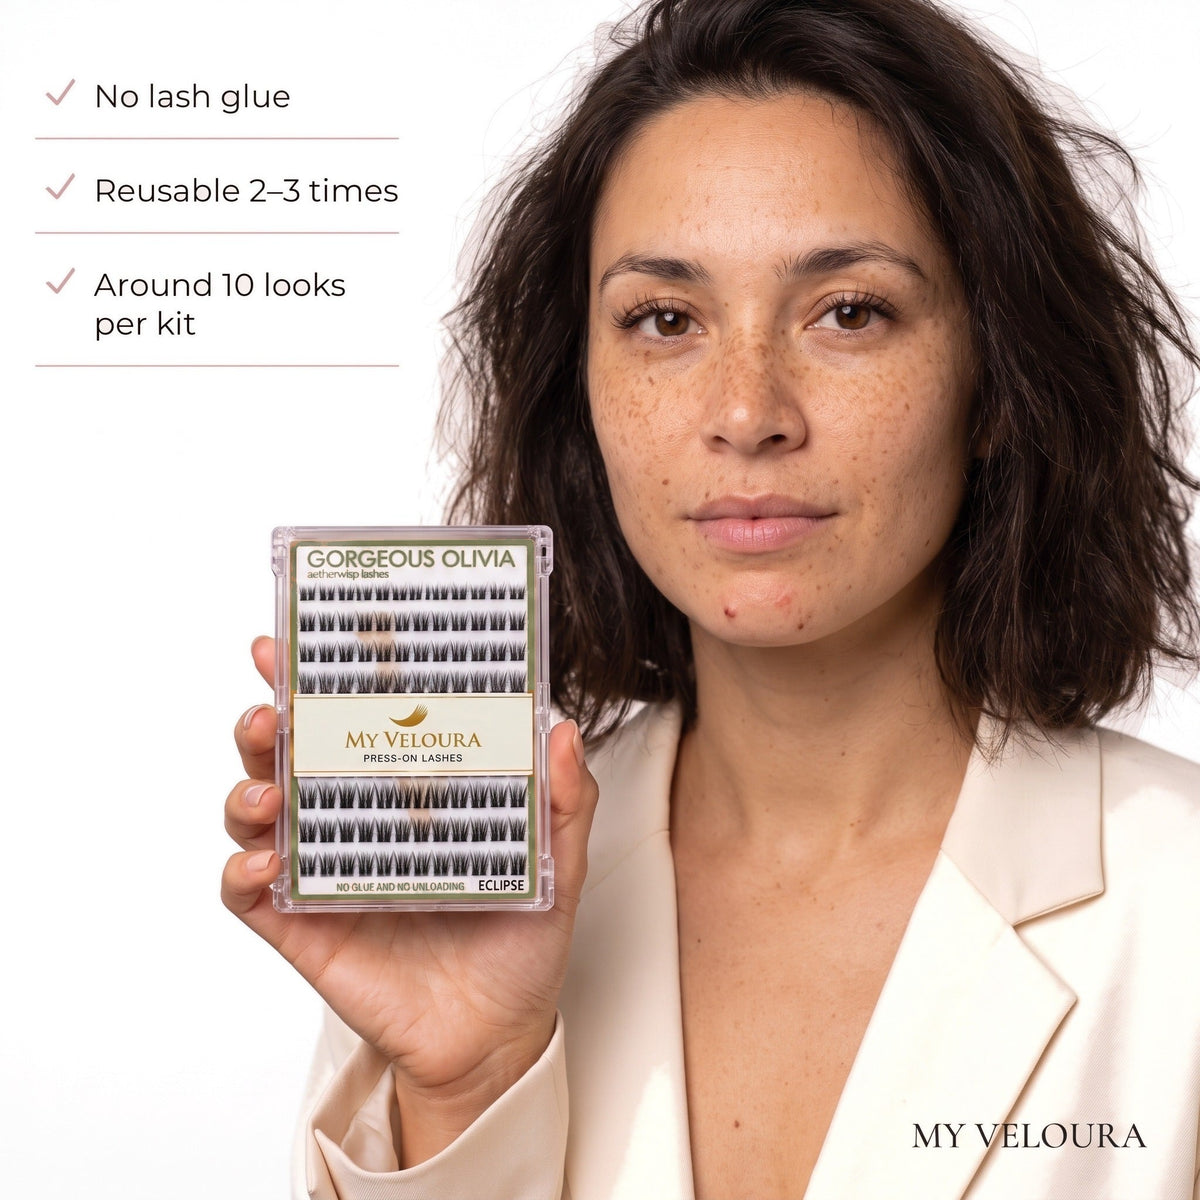
Every lash in your My Veloura Press-On Lash Kit already has its adhesive strip attached. Nothing to buy, nothing to wait for, nothing to clean up.
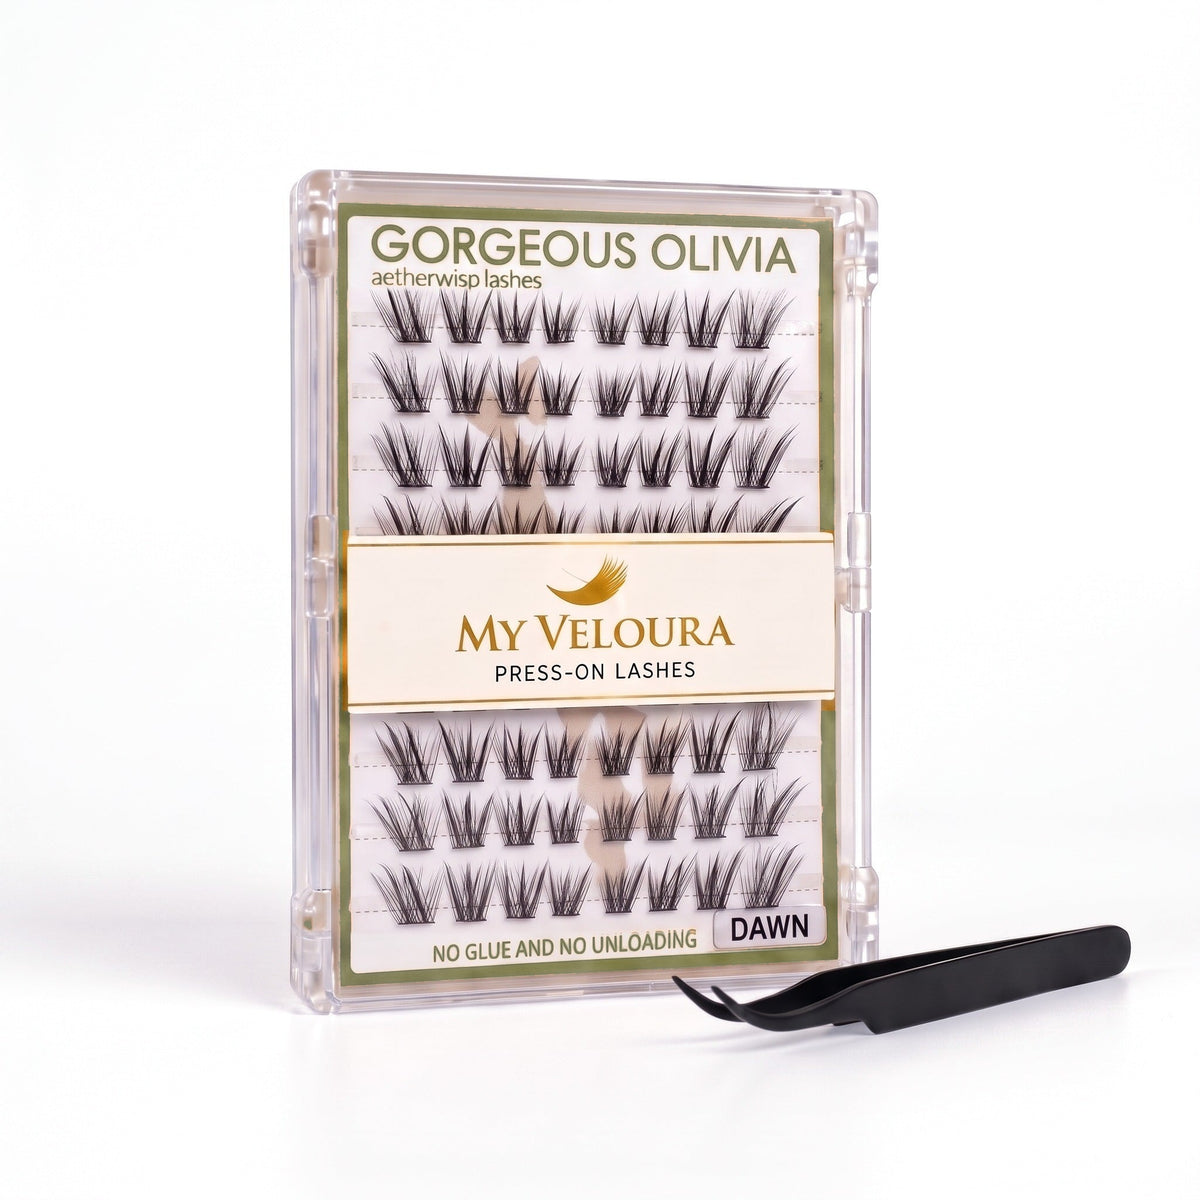
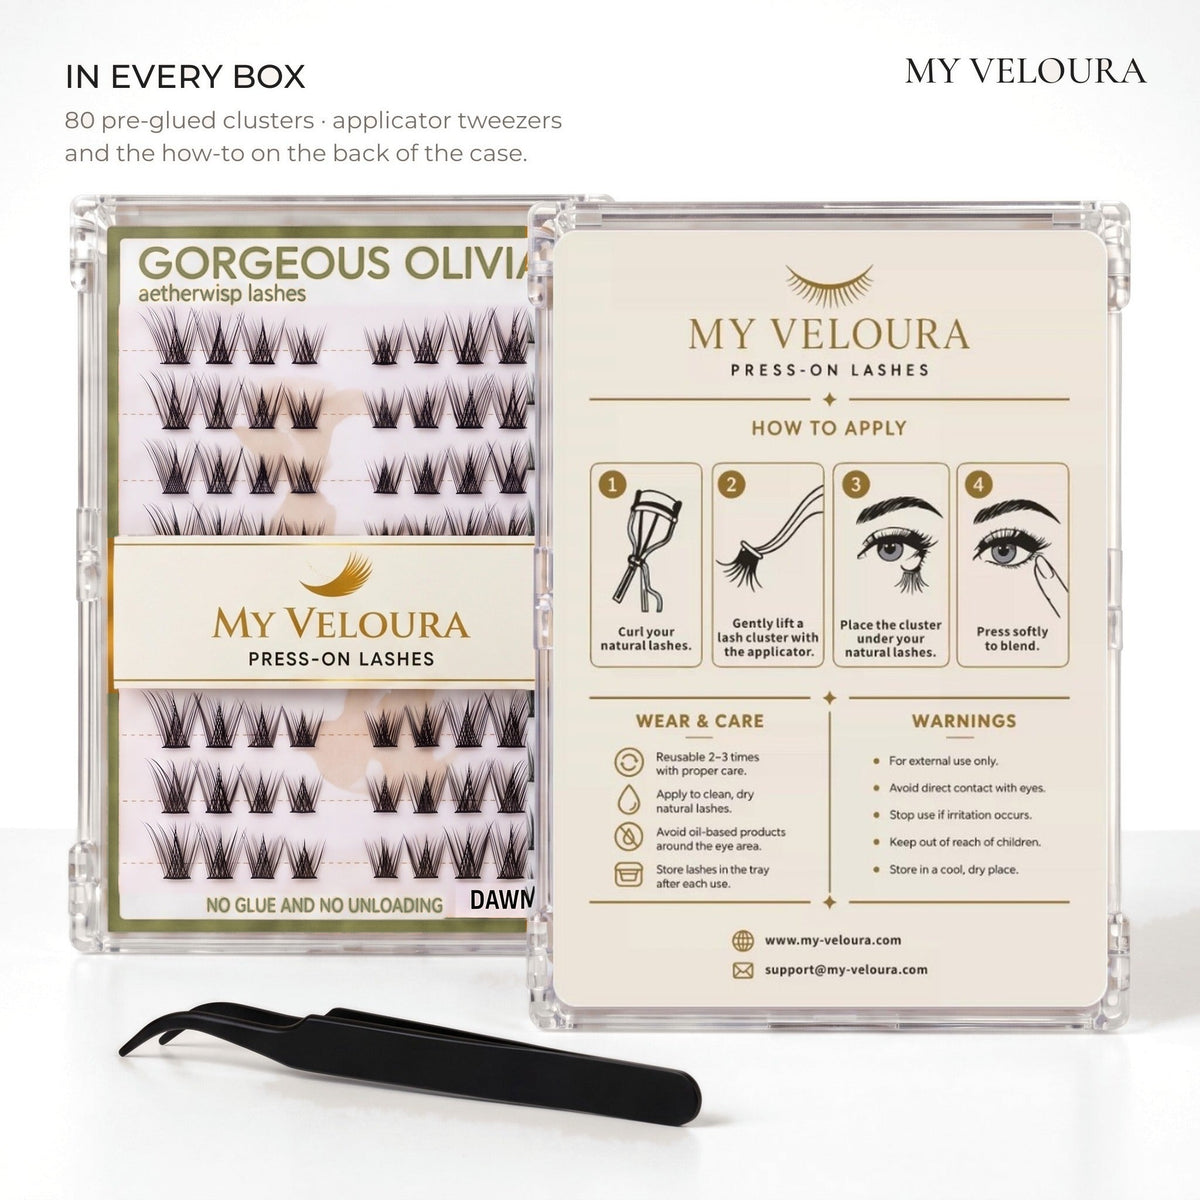
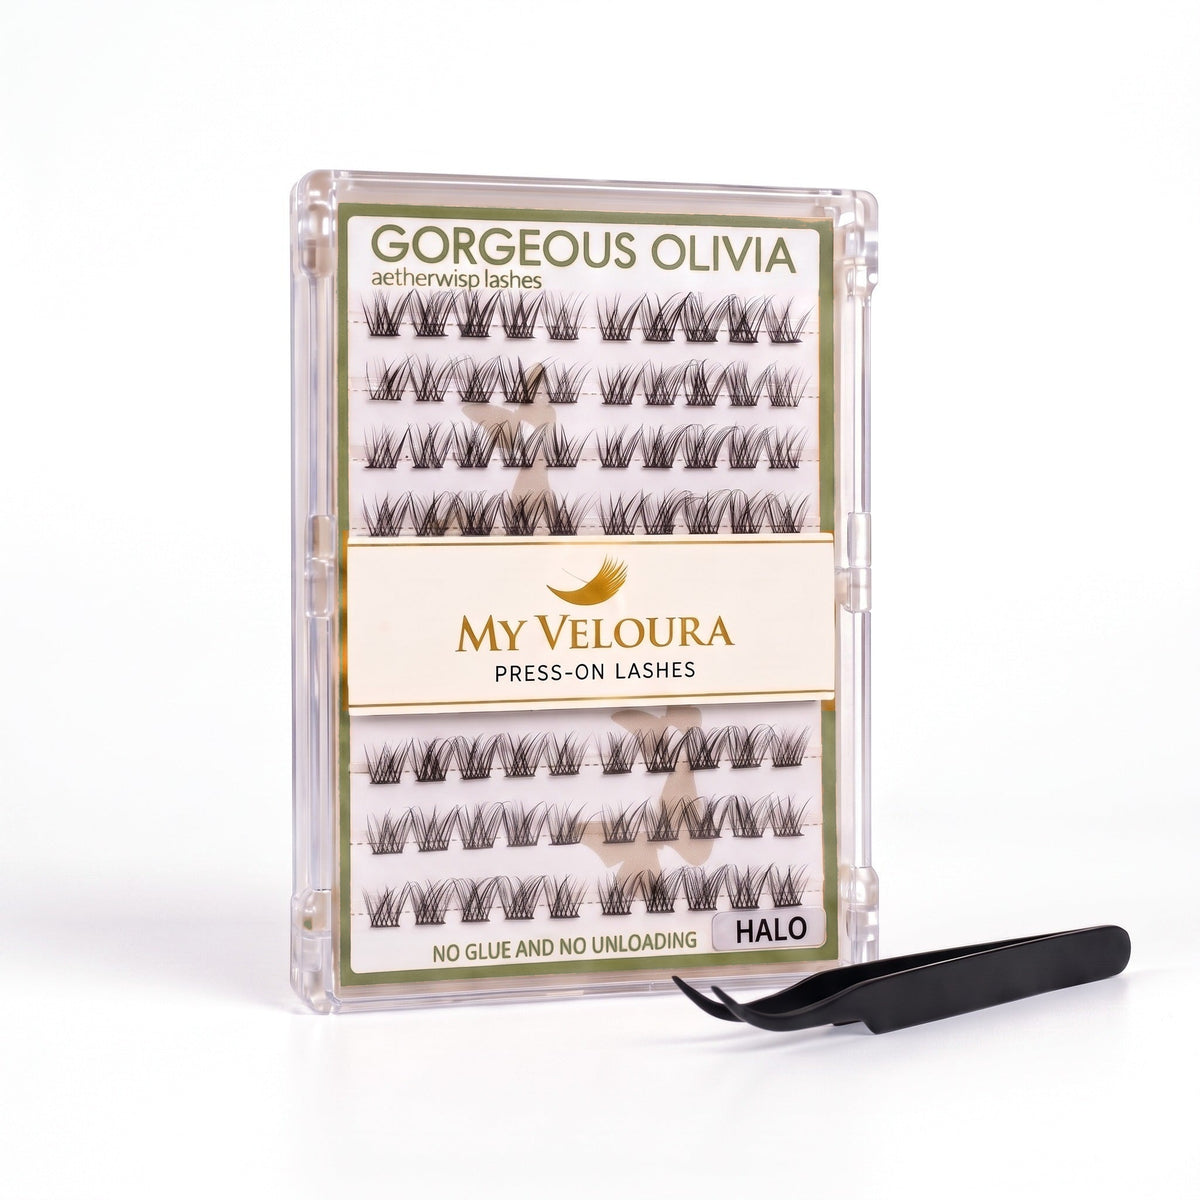
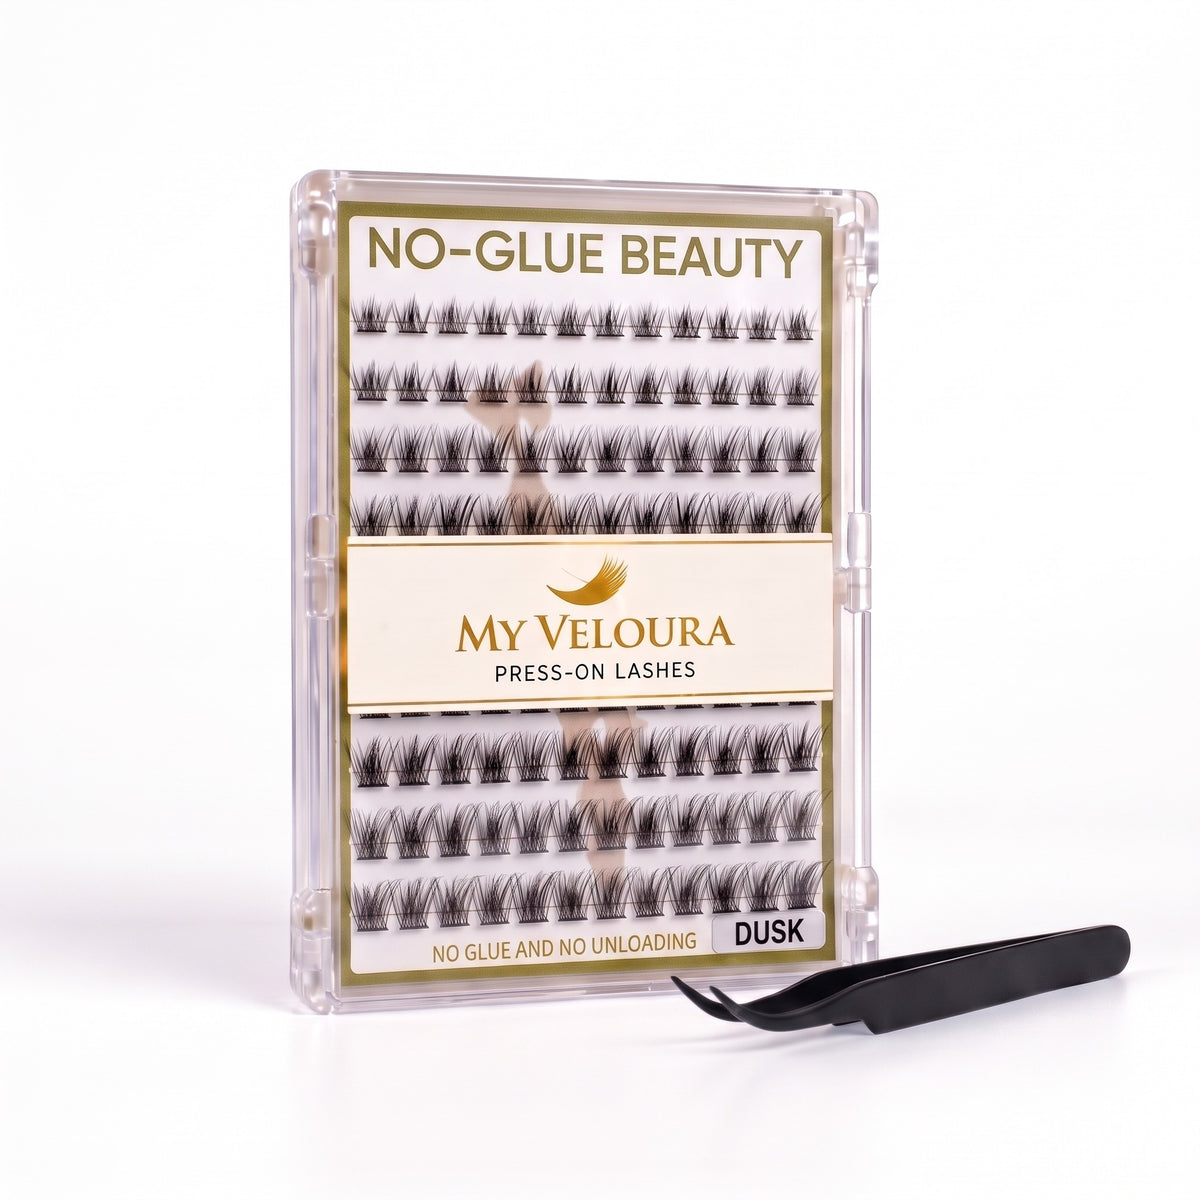
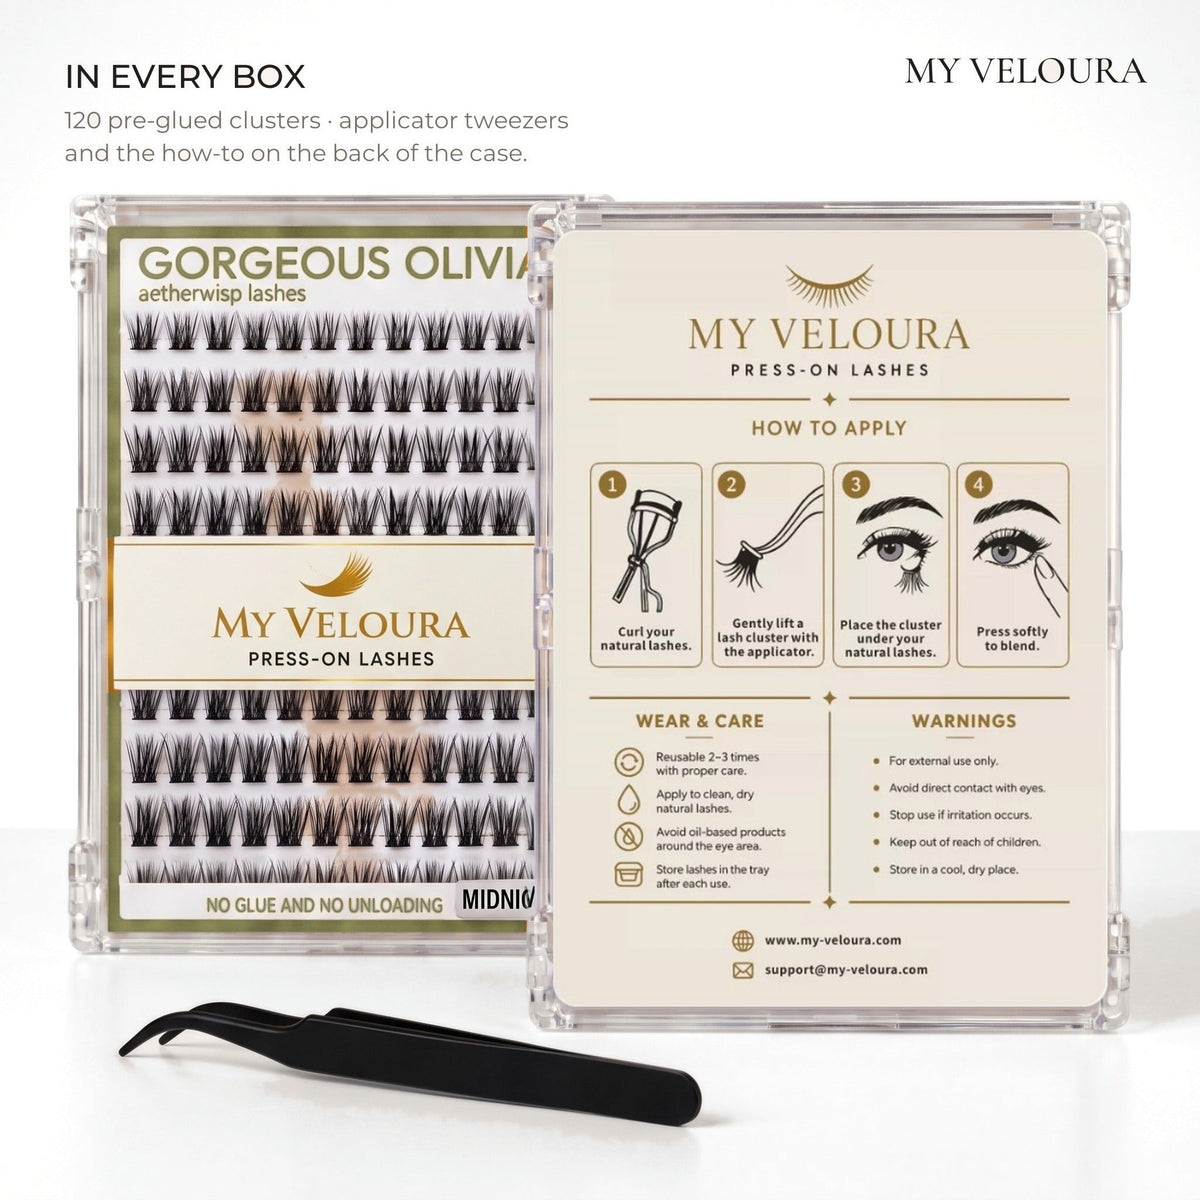
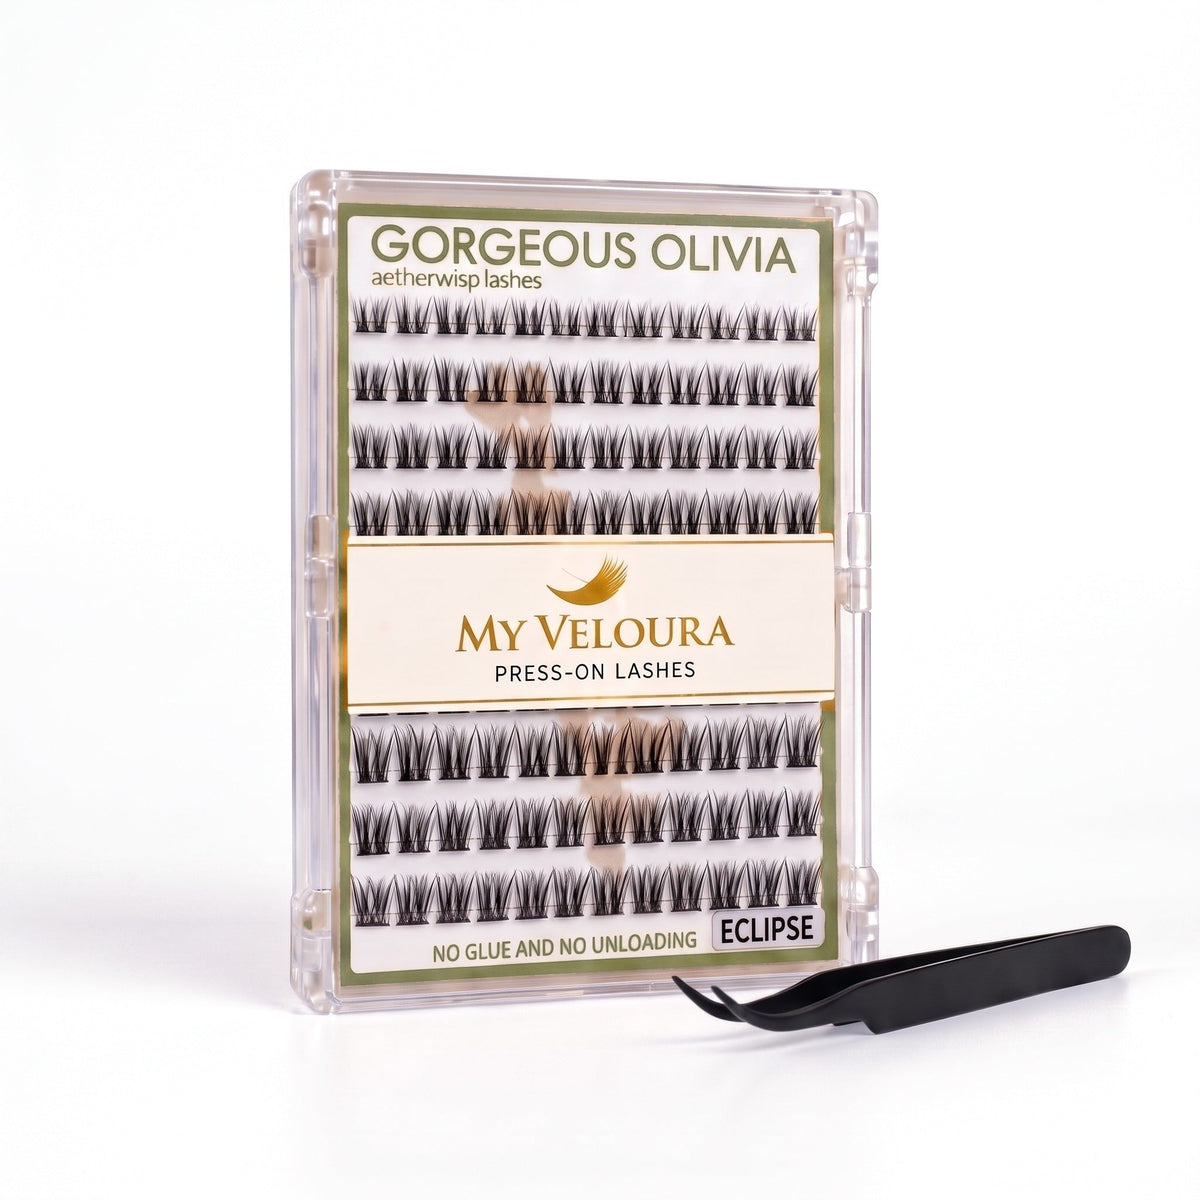
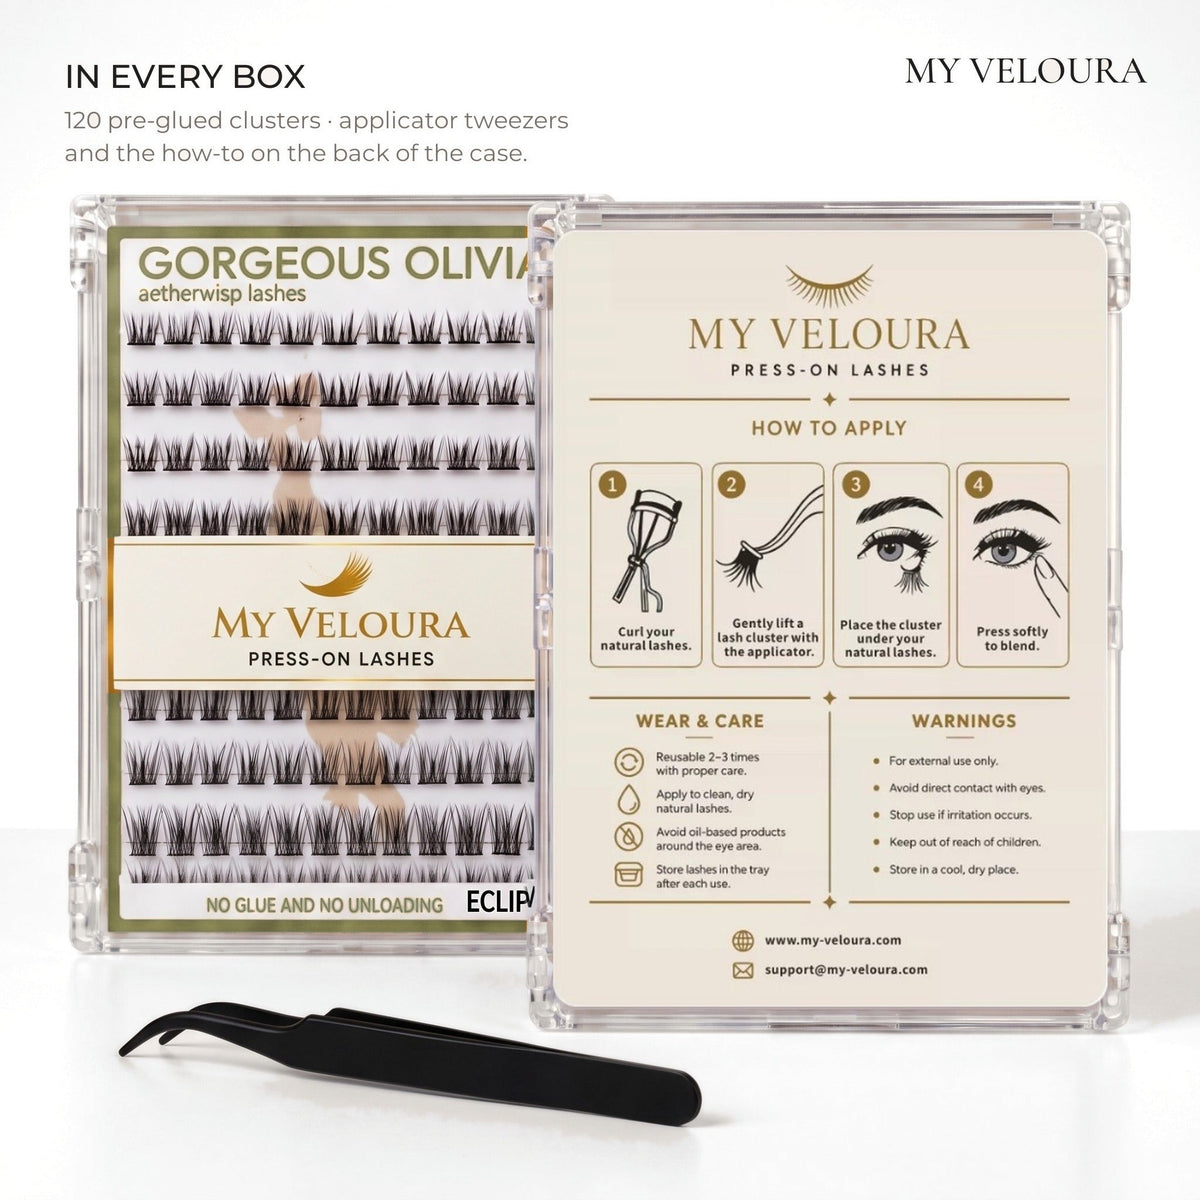
What is in your kit
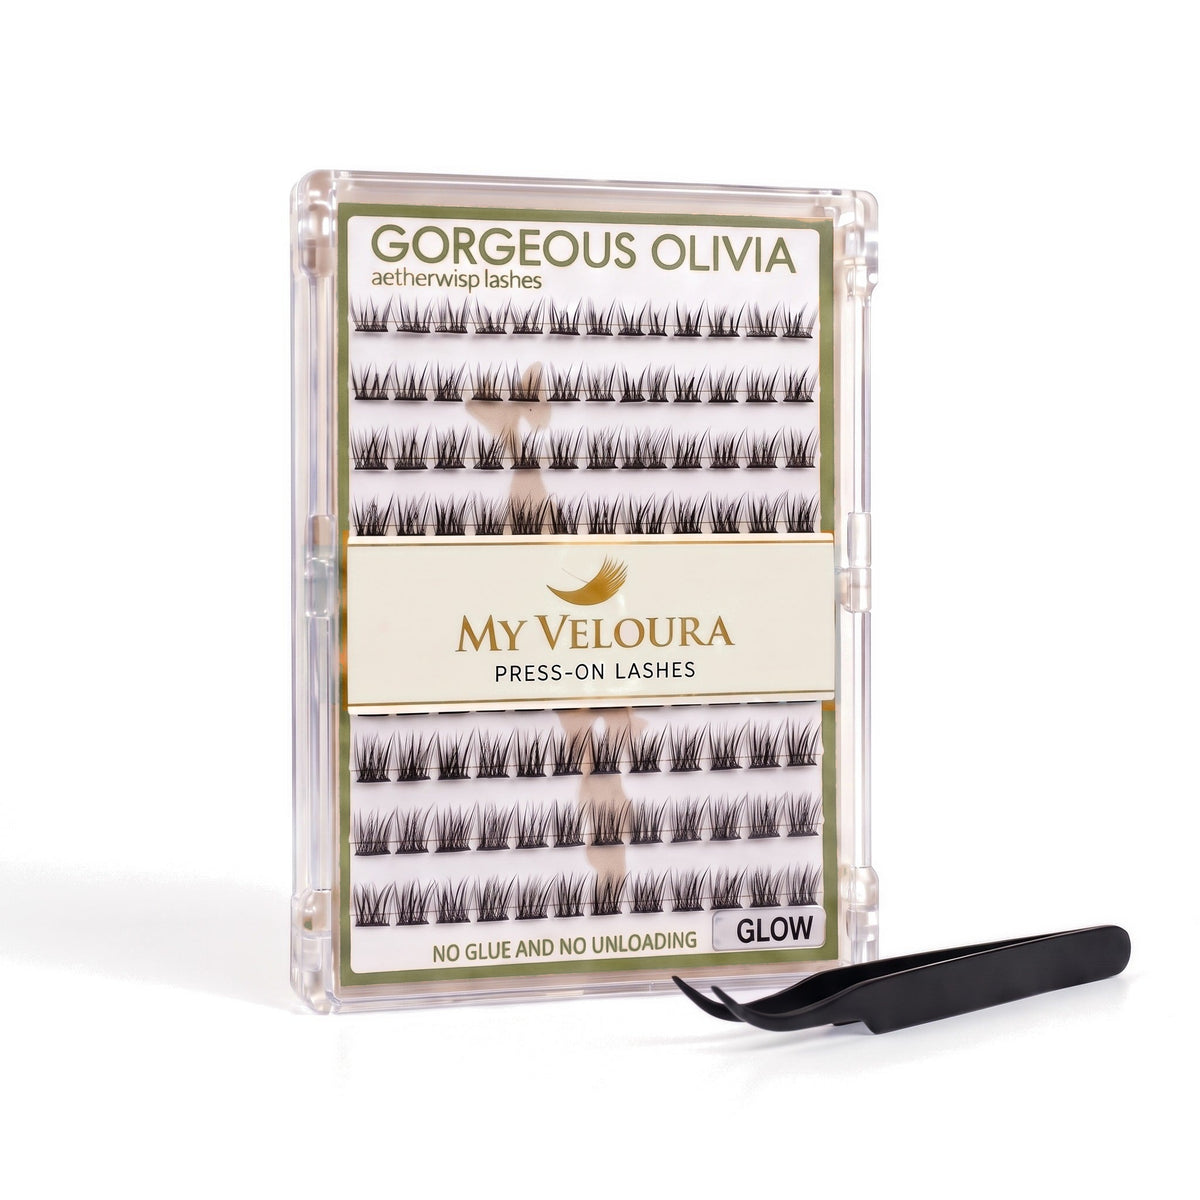
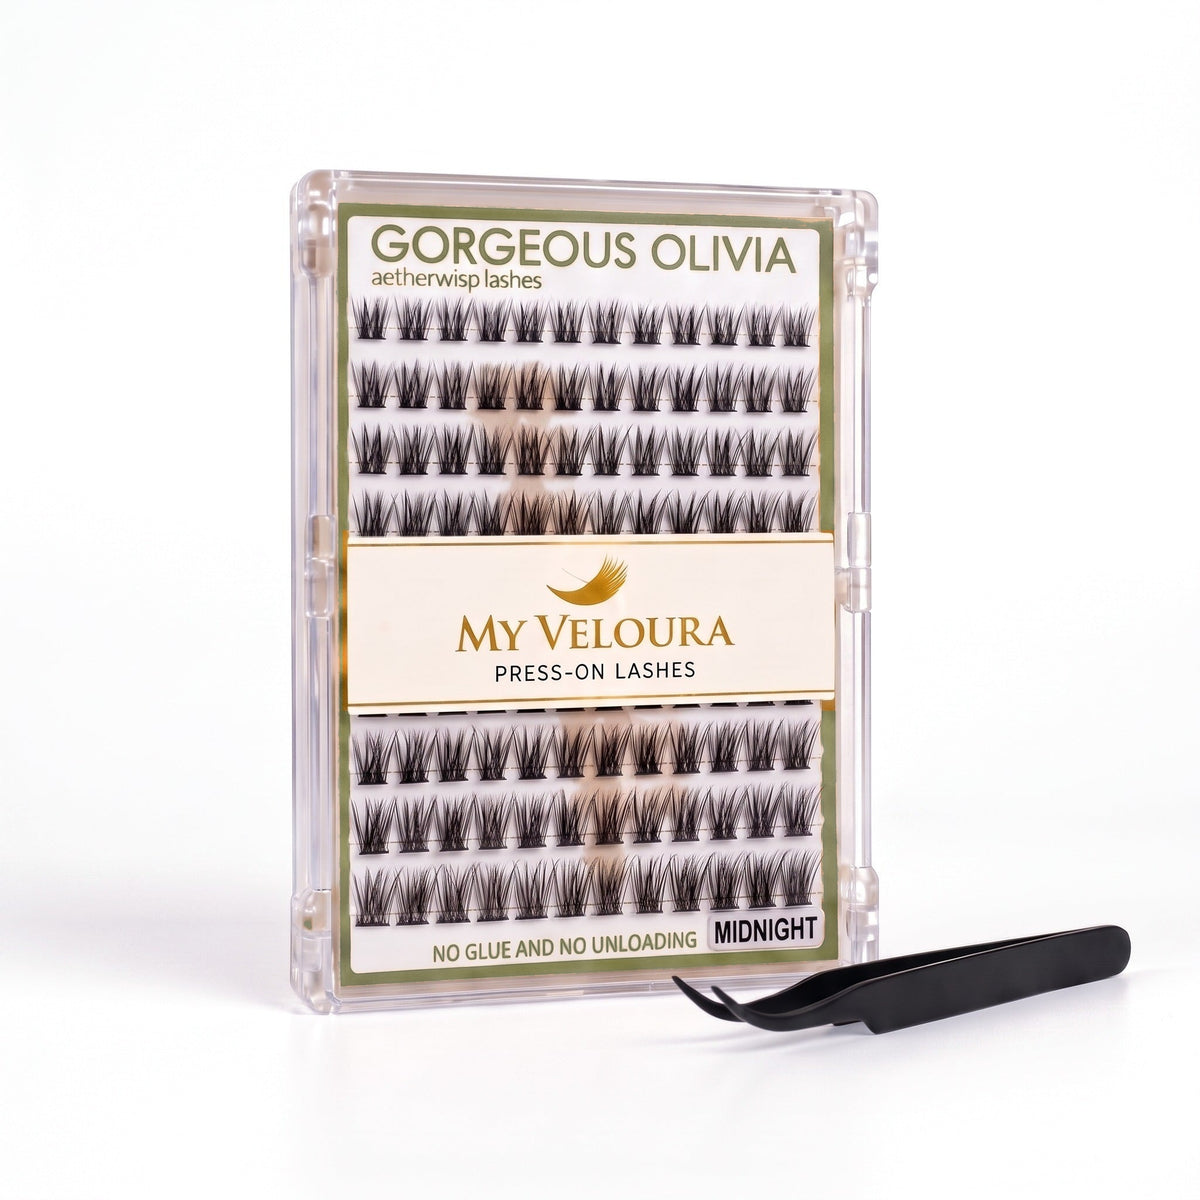
Everything you need is in the box.
-
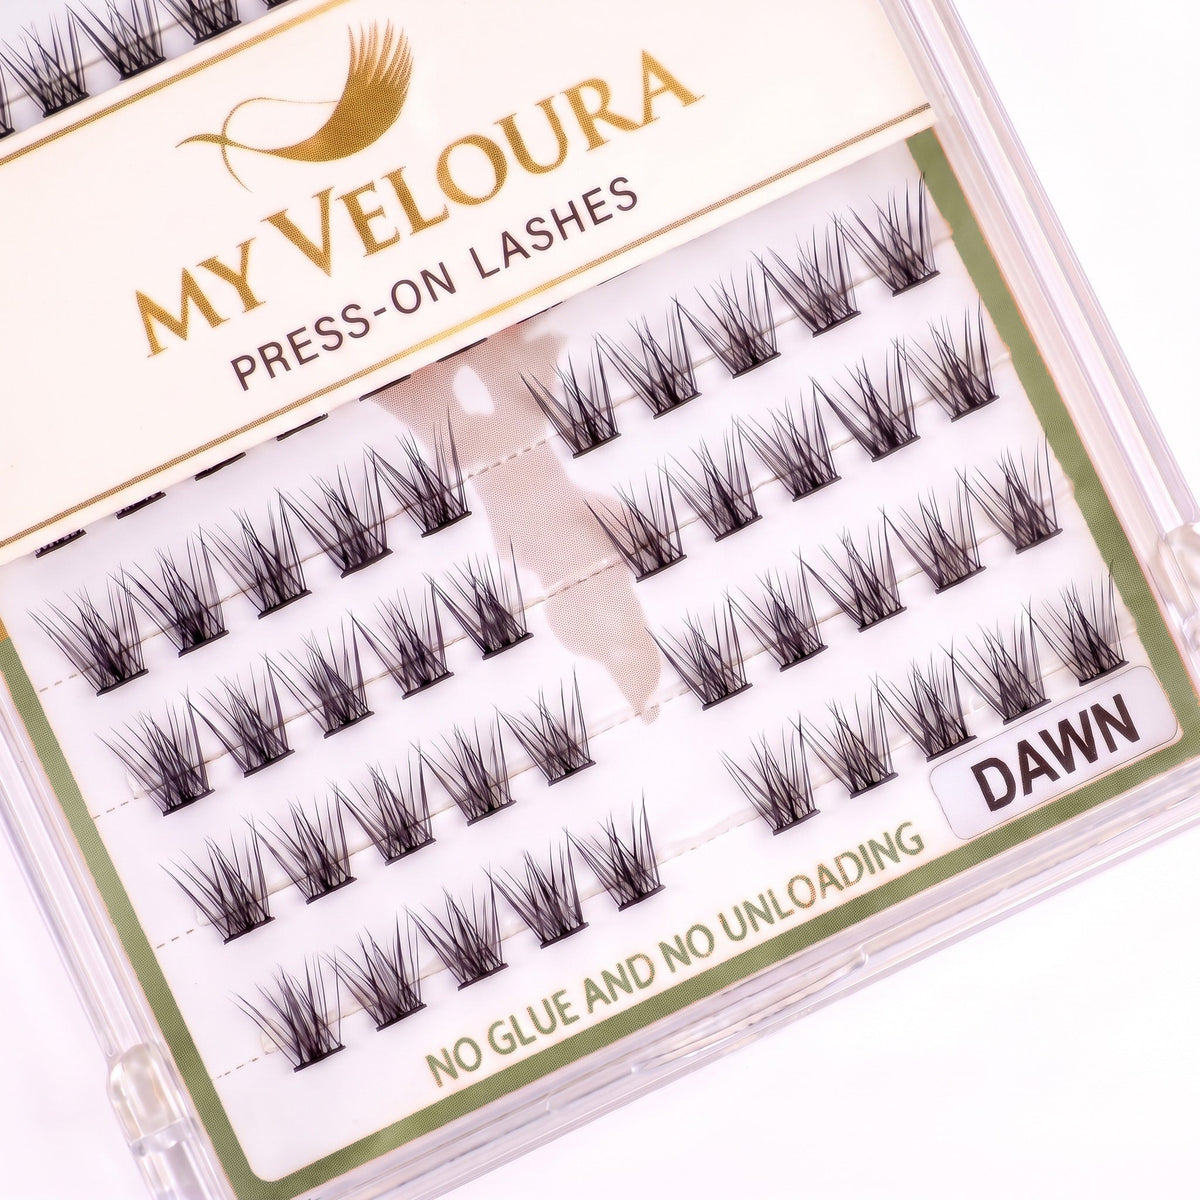
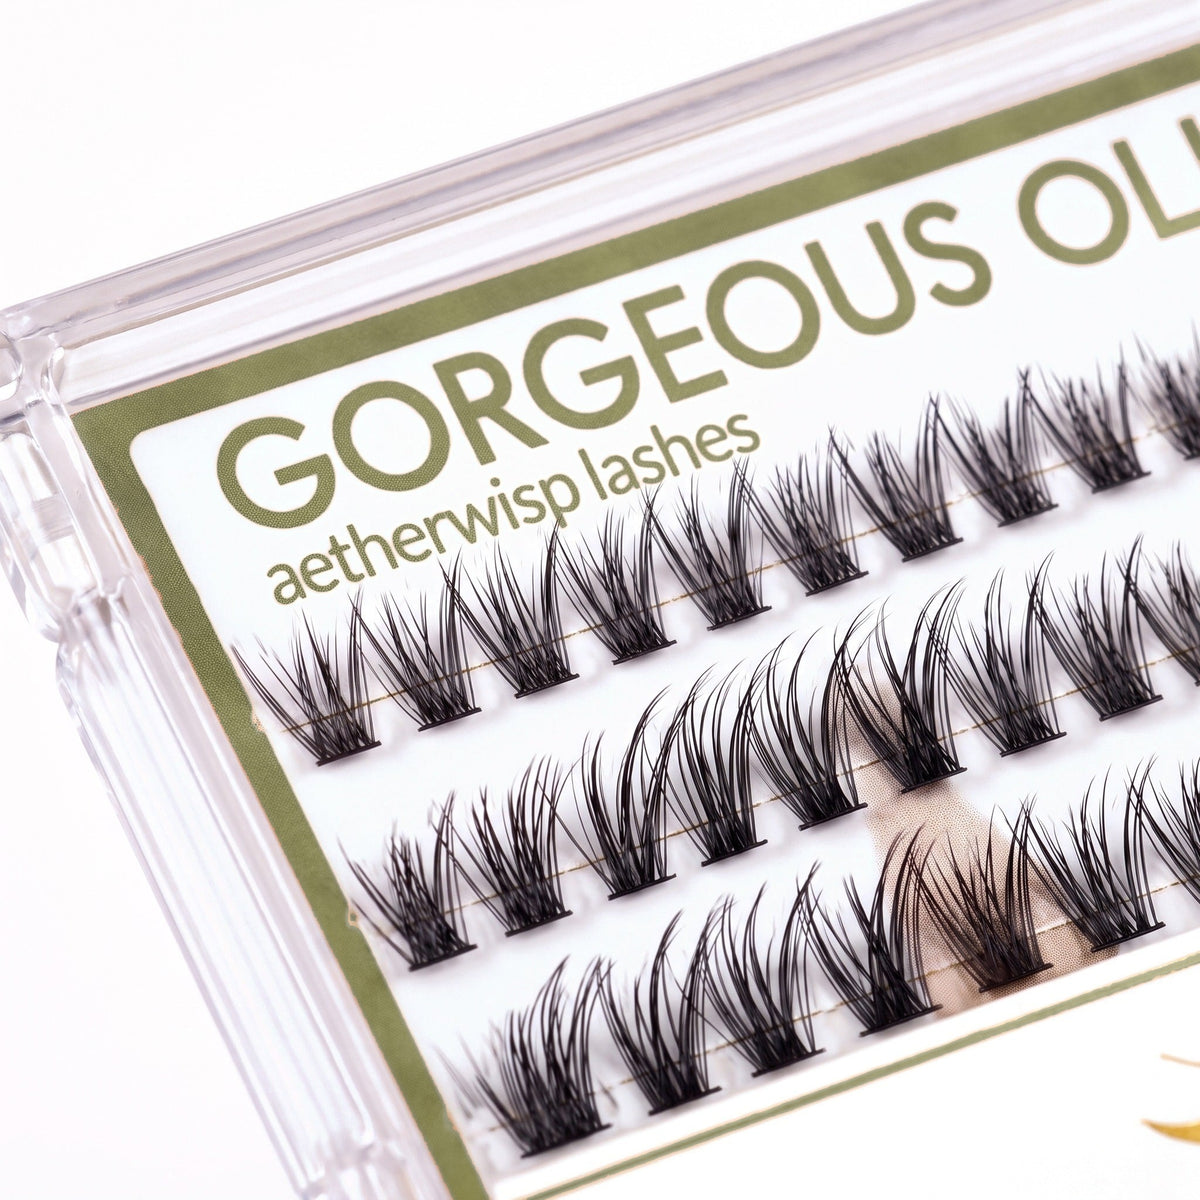
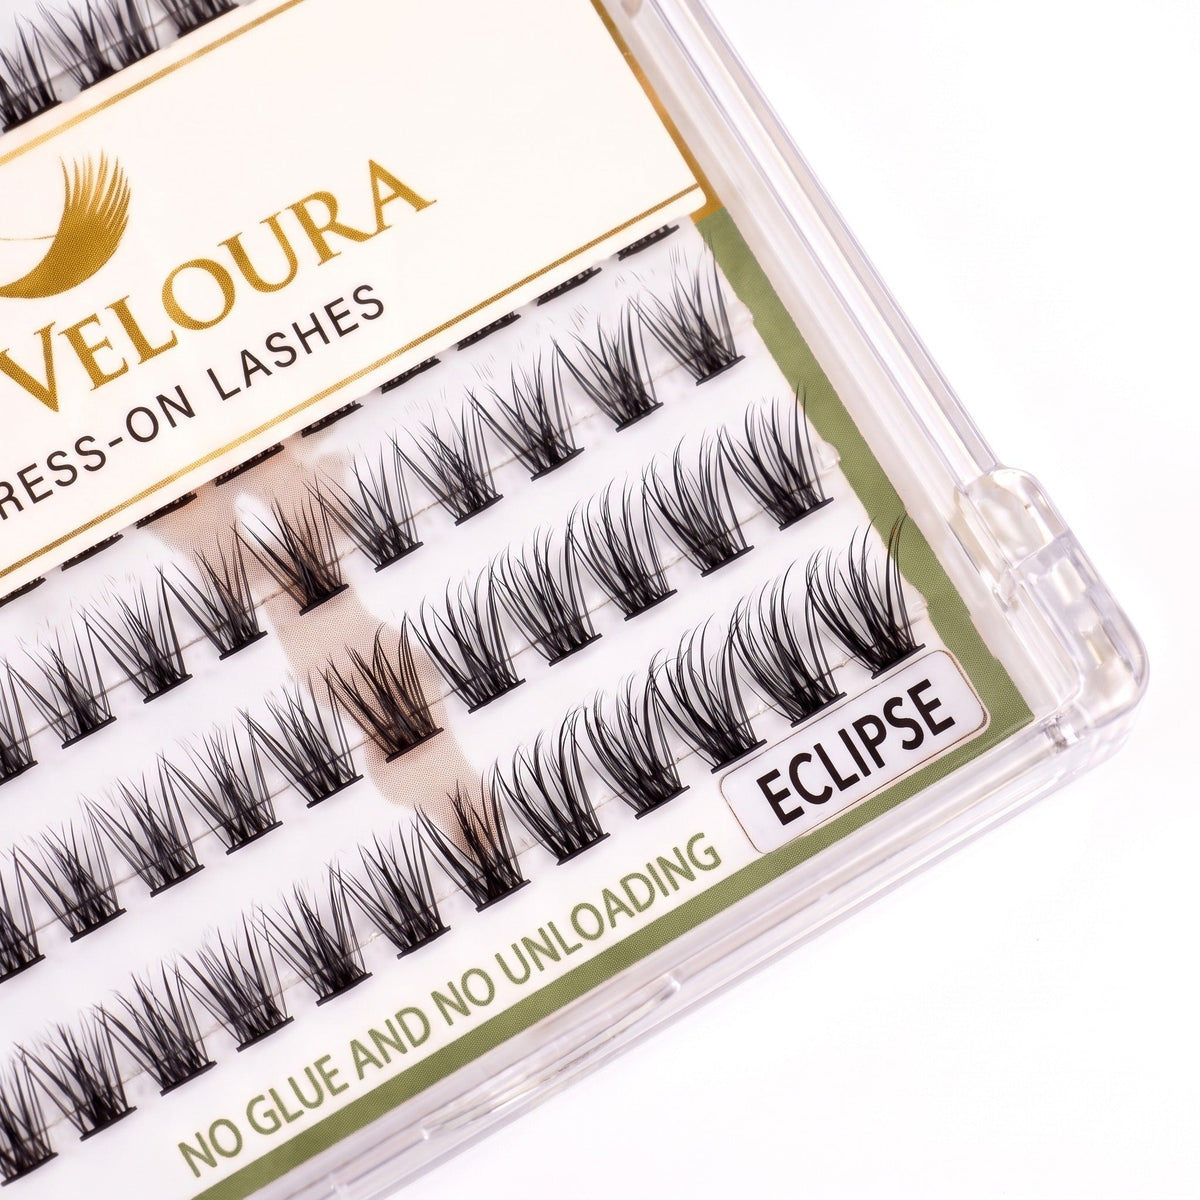
Mixed length lashes
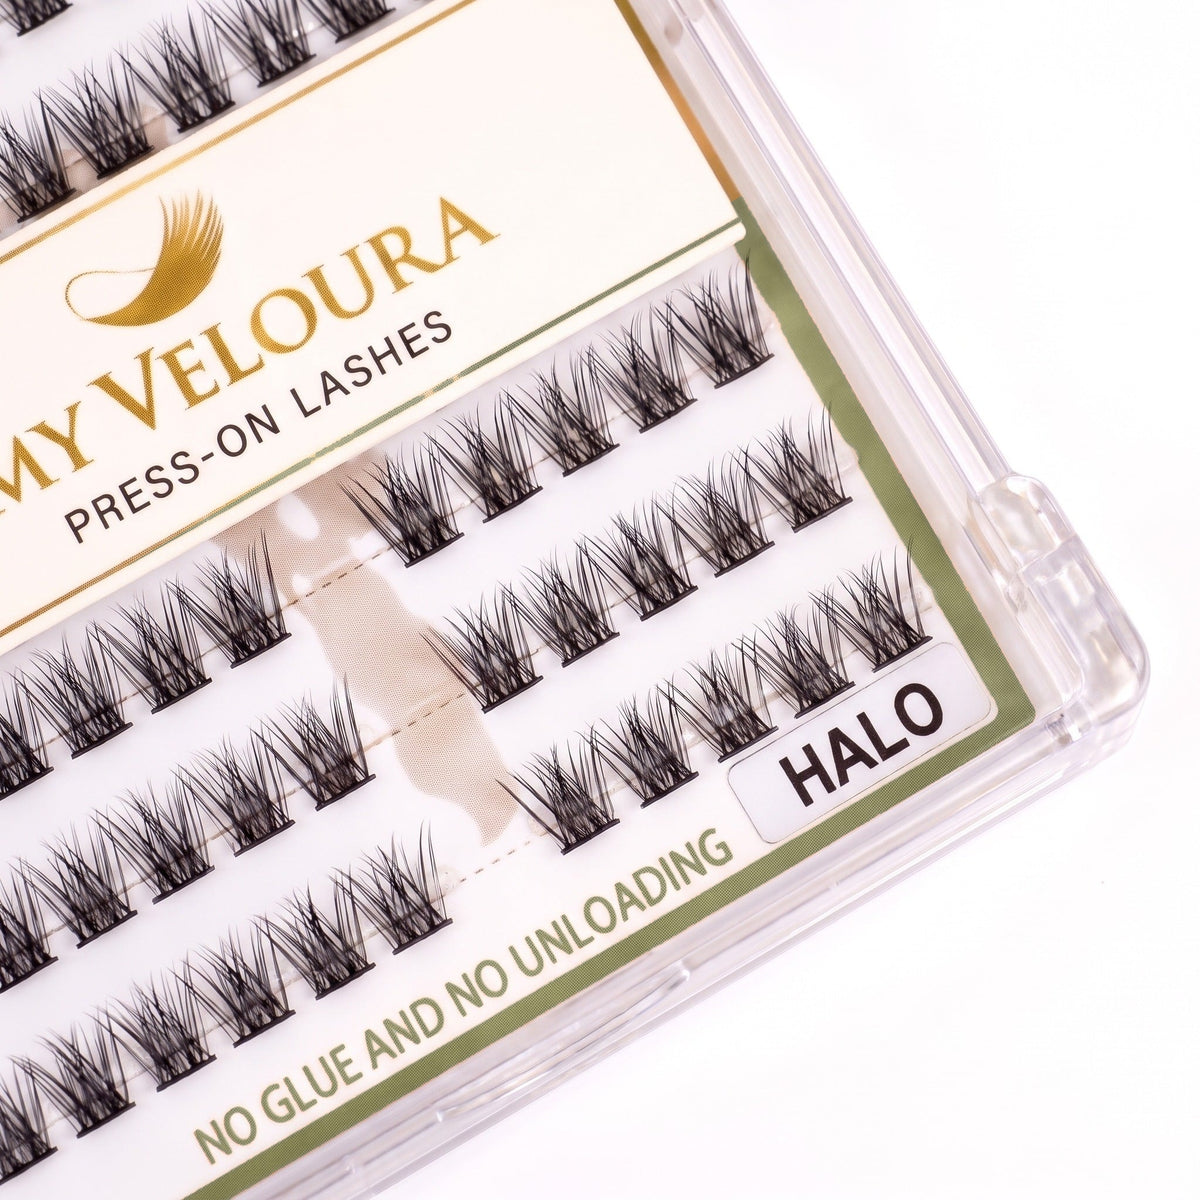
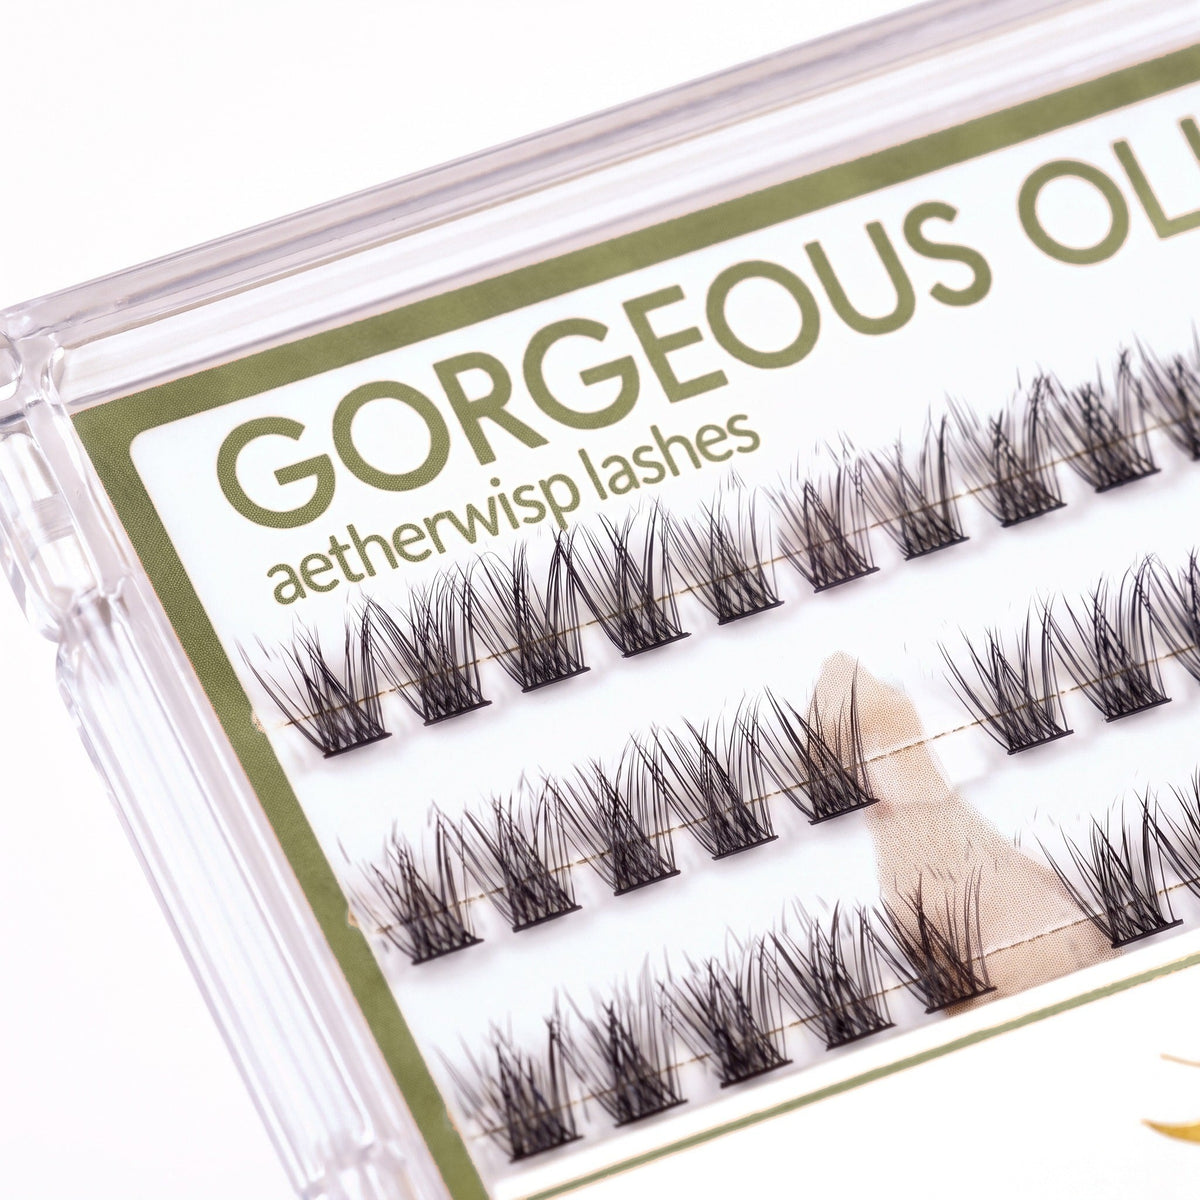
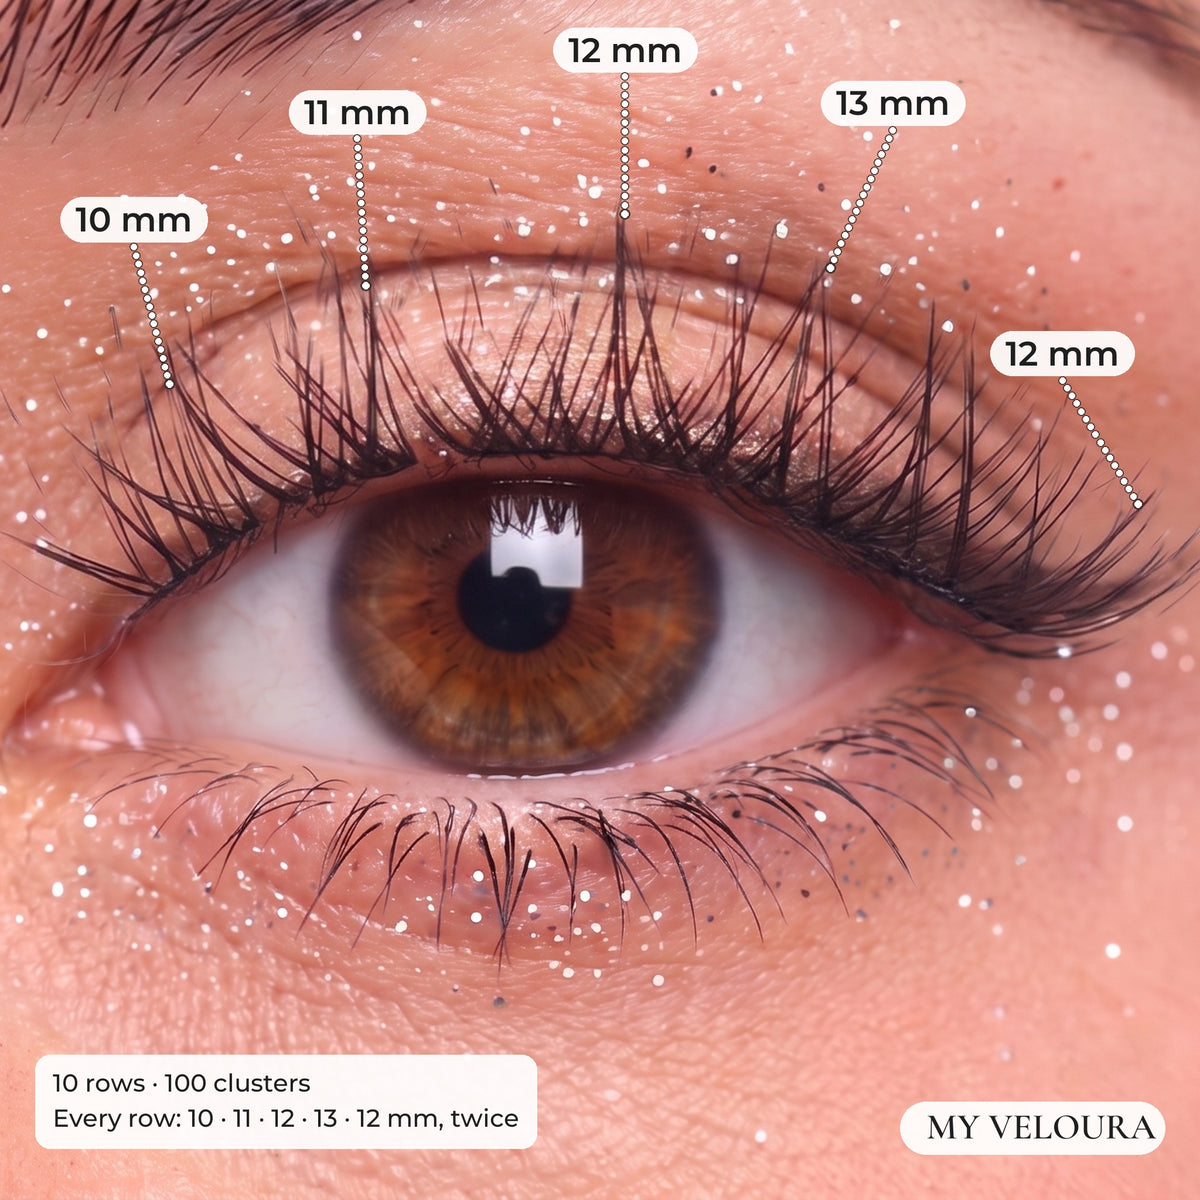
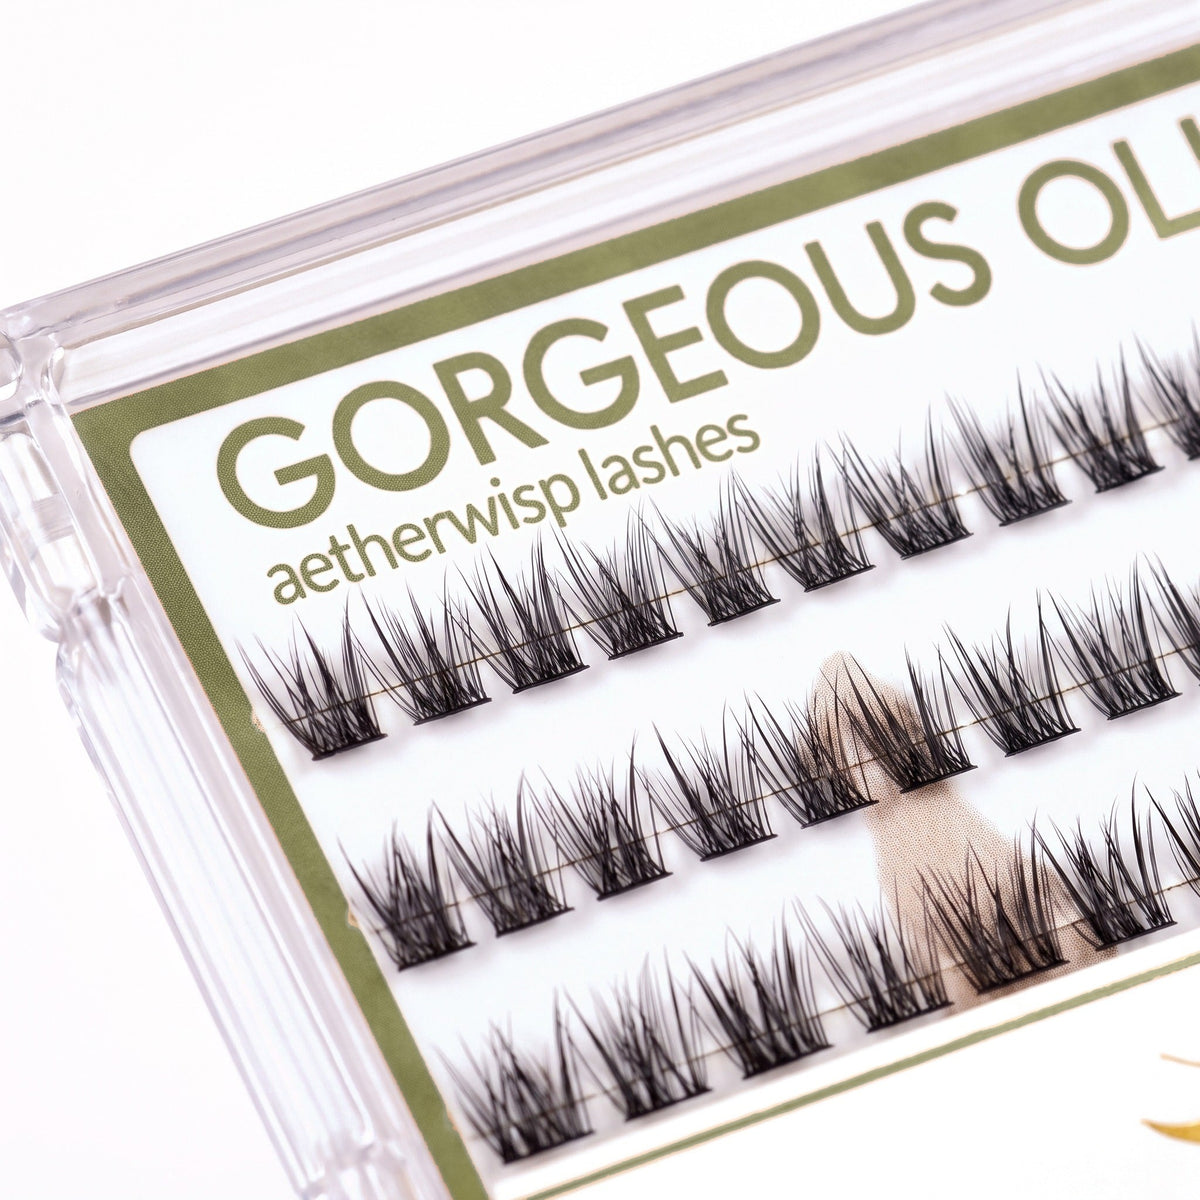
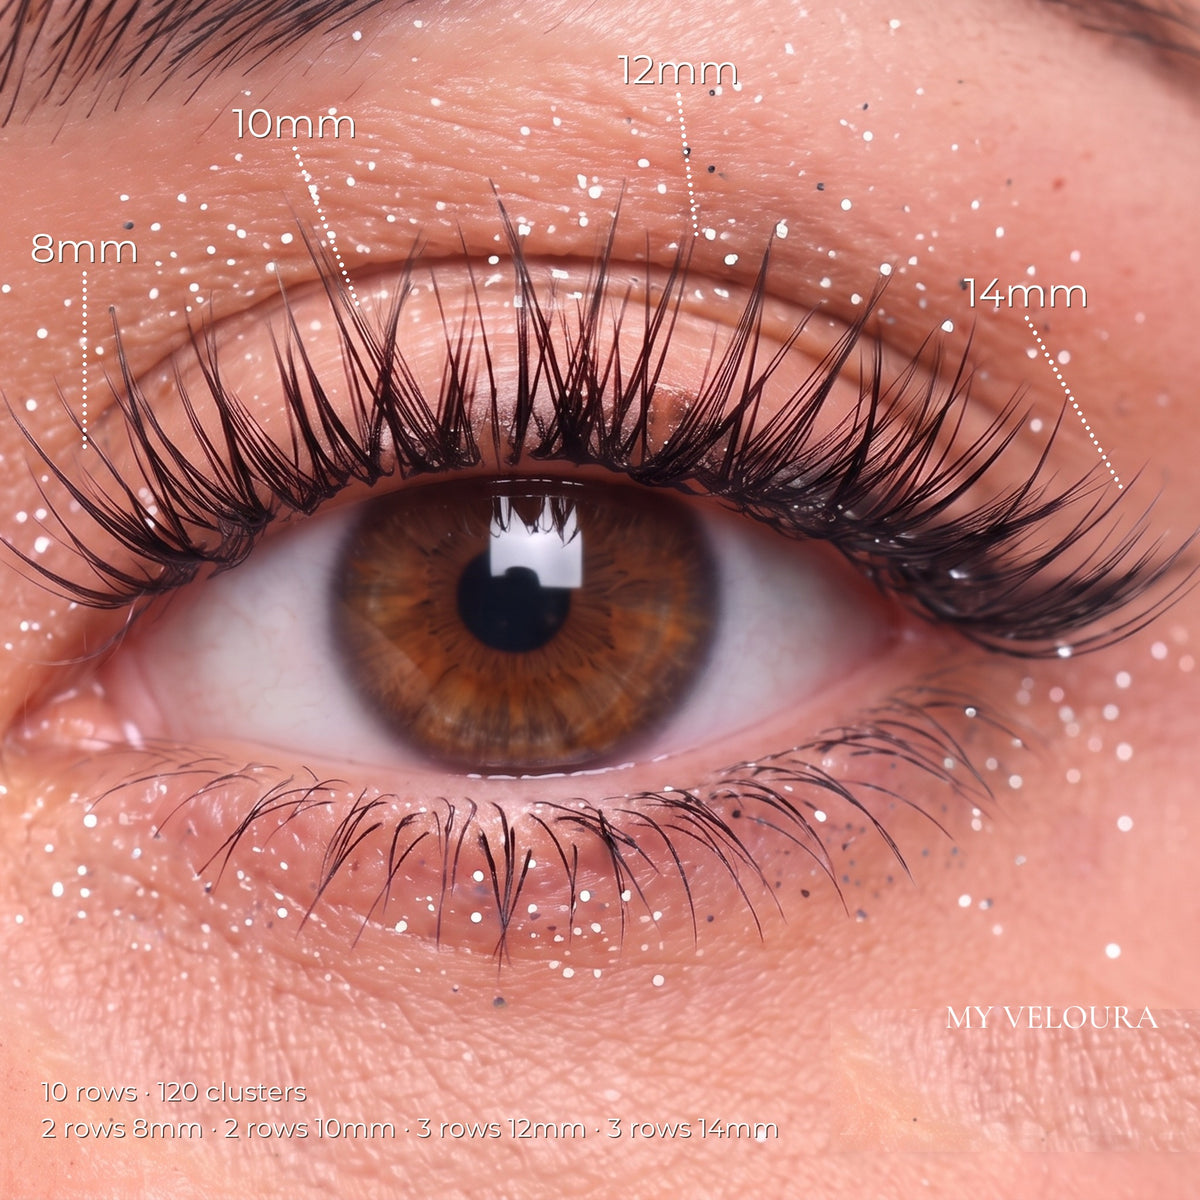
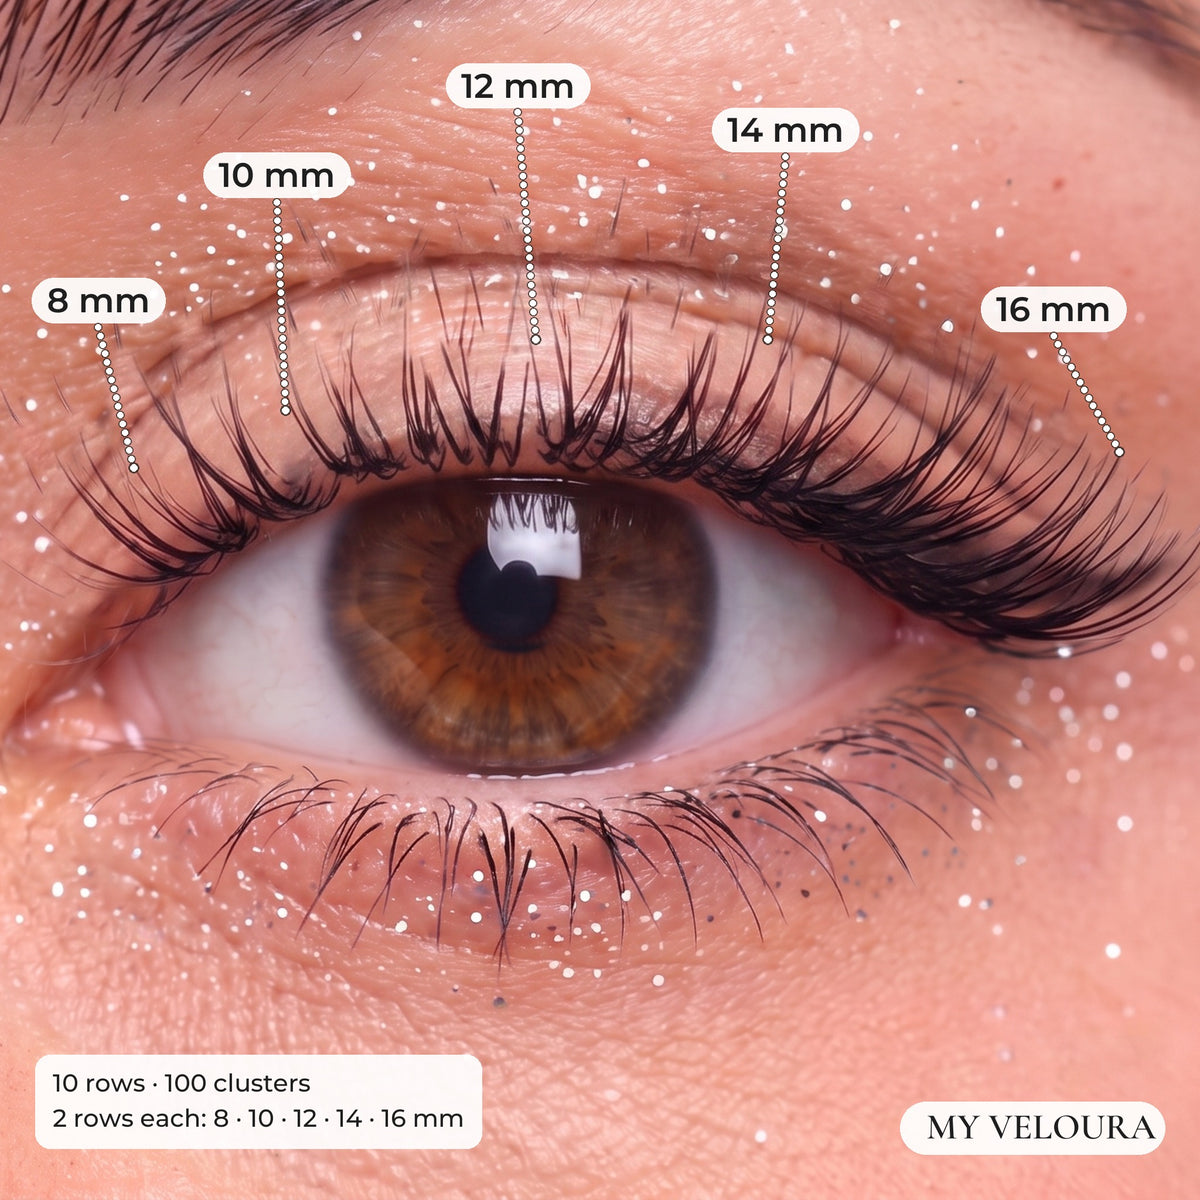
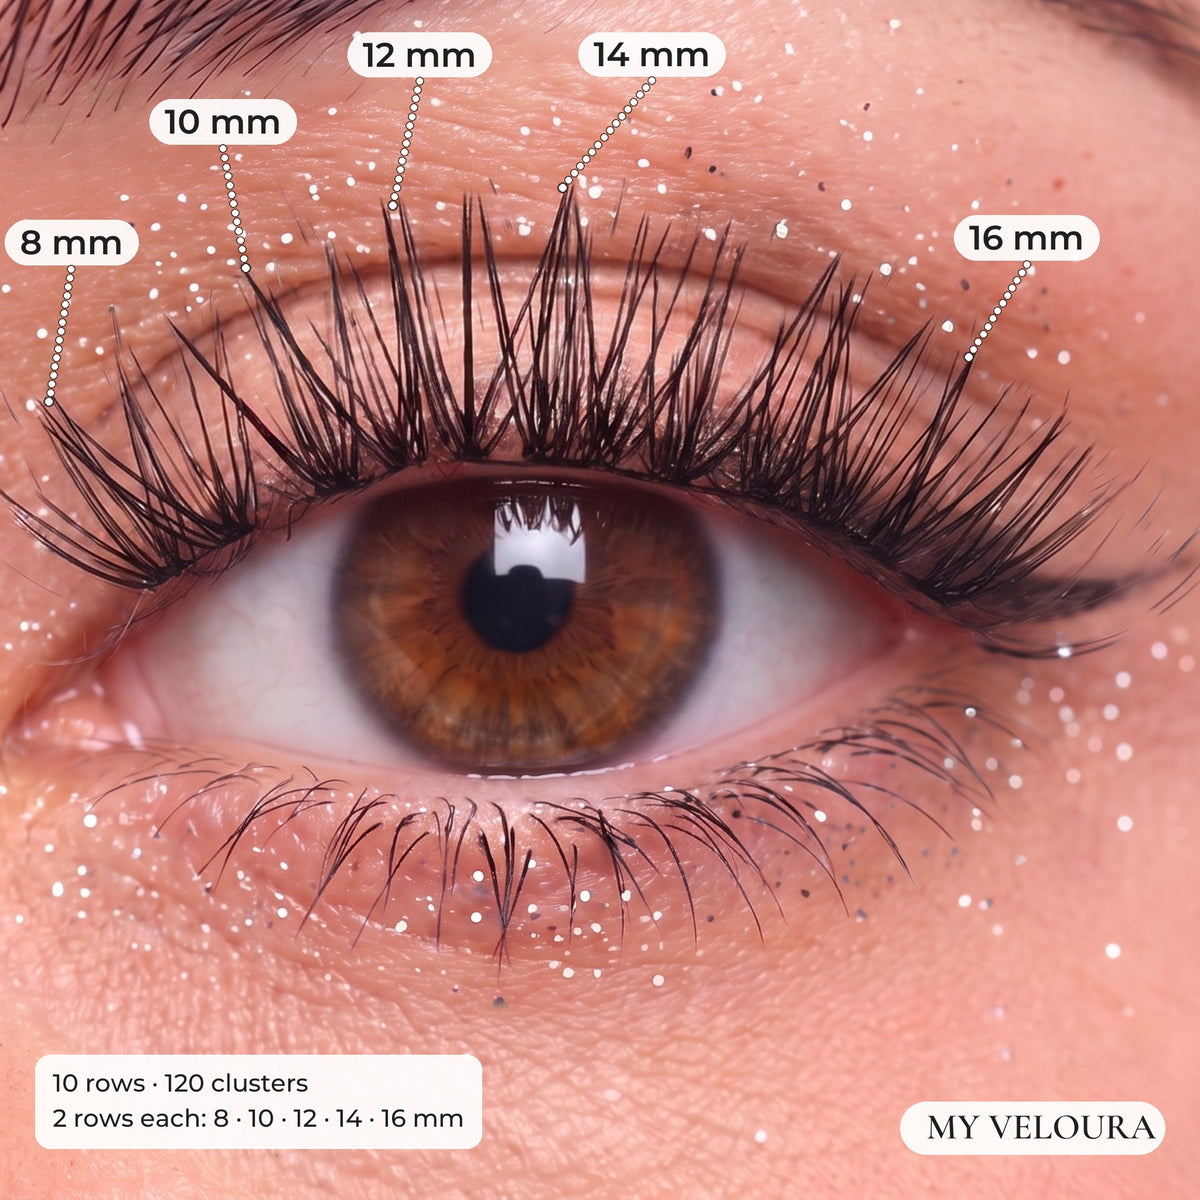
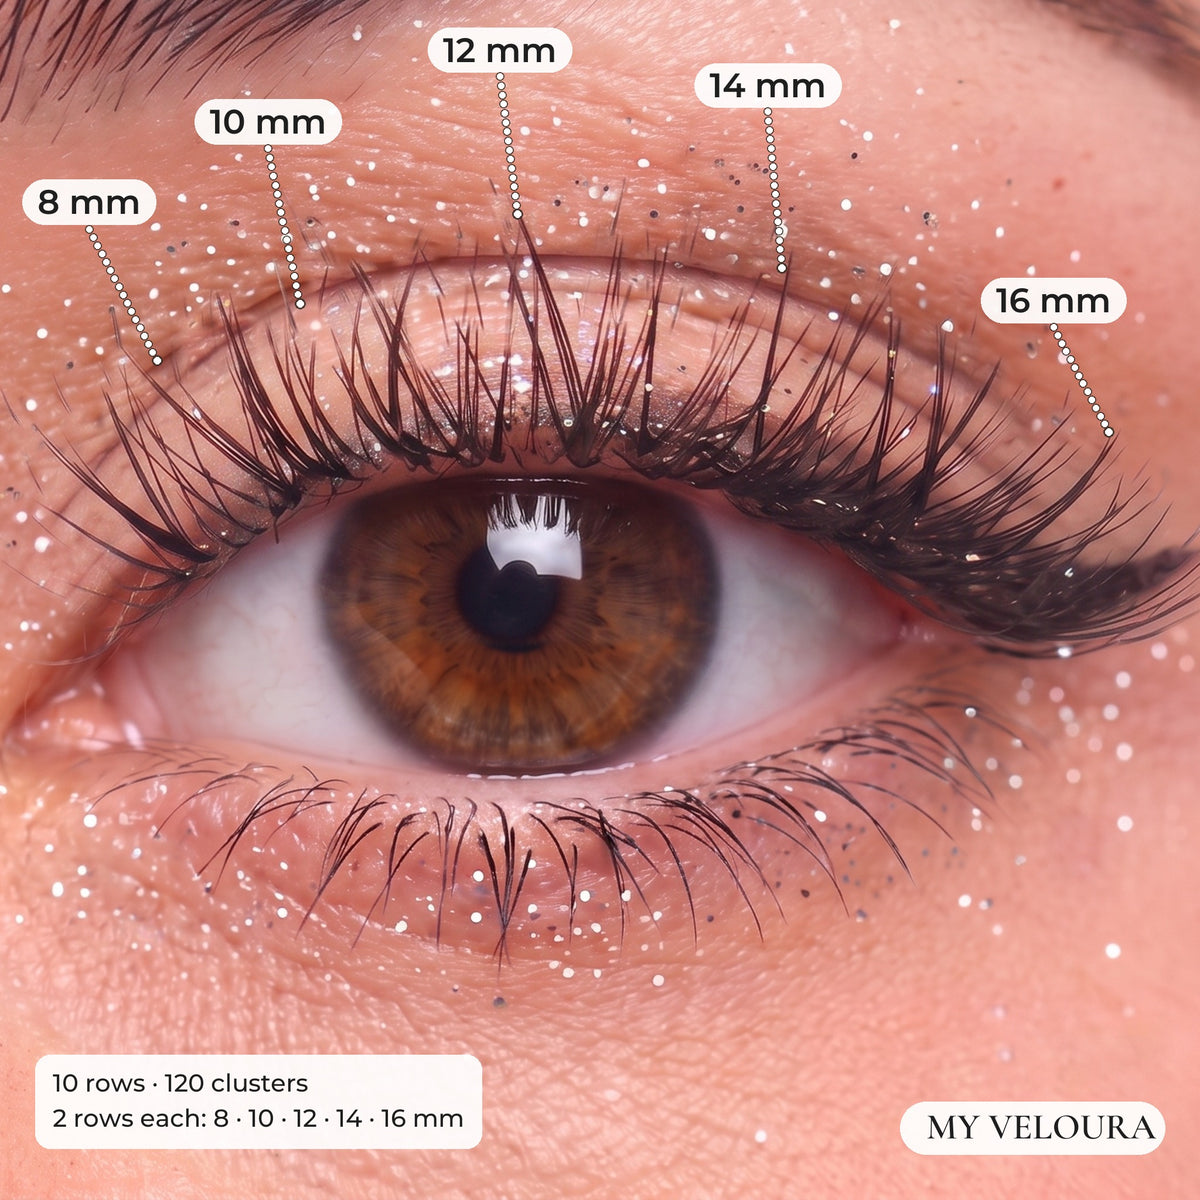
Laid out on a tray, from short to long, so you can build a graduated shape across your lash line.
-
Precision tweezers
Included in every kit. Slim tips that let you place each lash exactly where you want it, without touching your eyelid.
-
Storage case
Keeps the tray closed and dry between wears, so the lashes hold their shape.
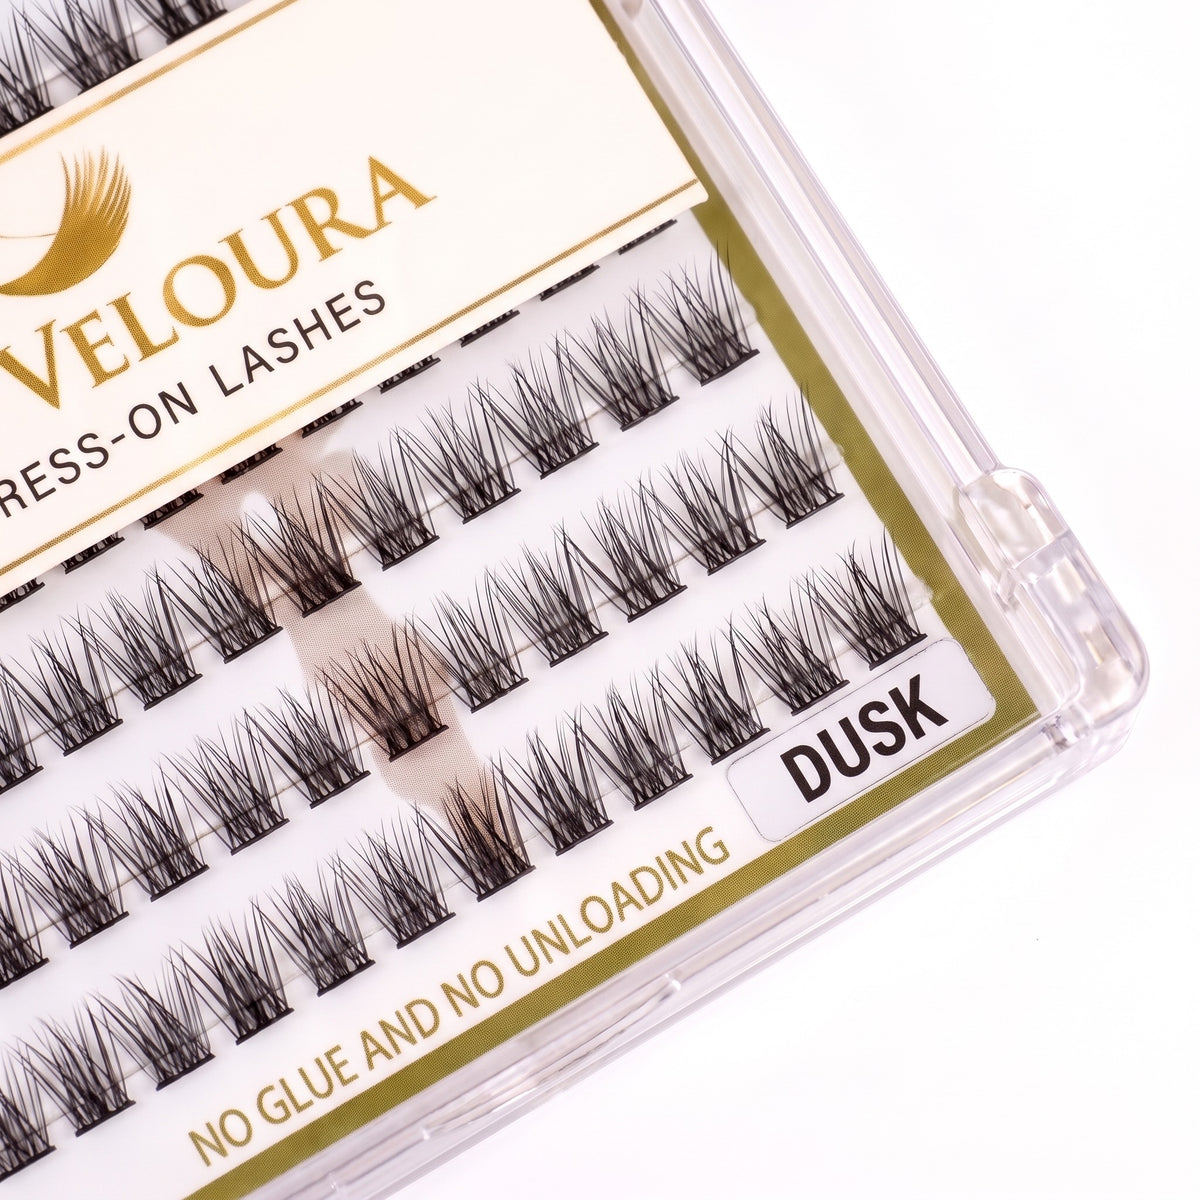
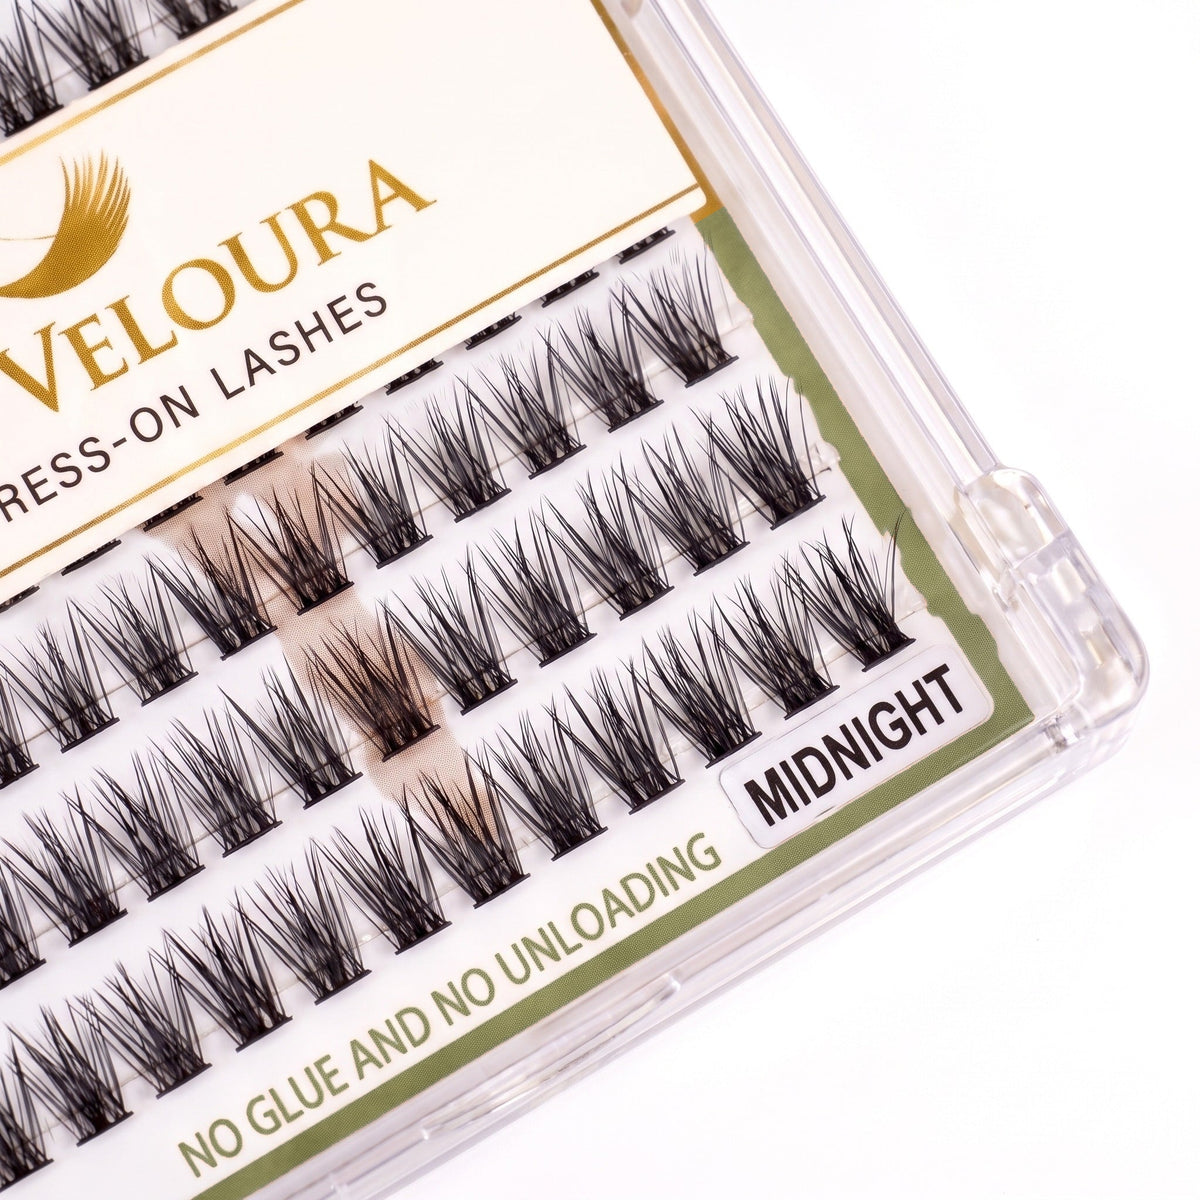
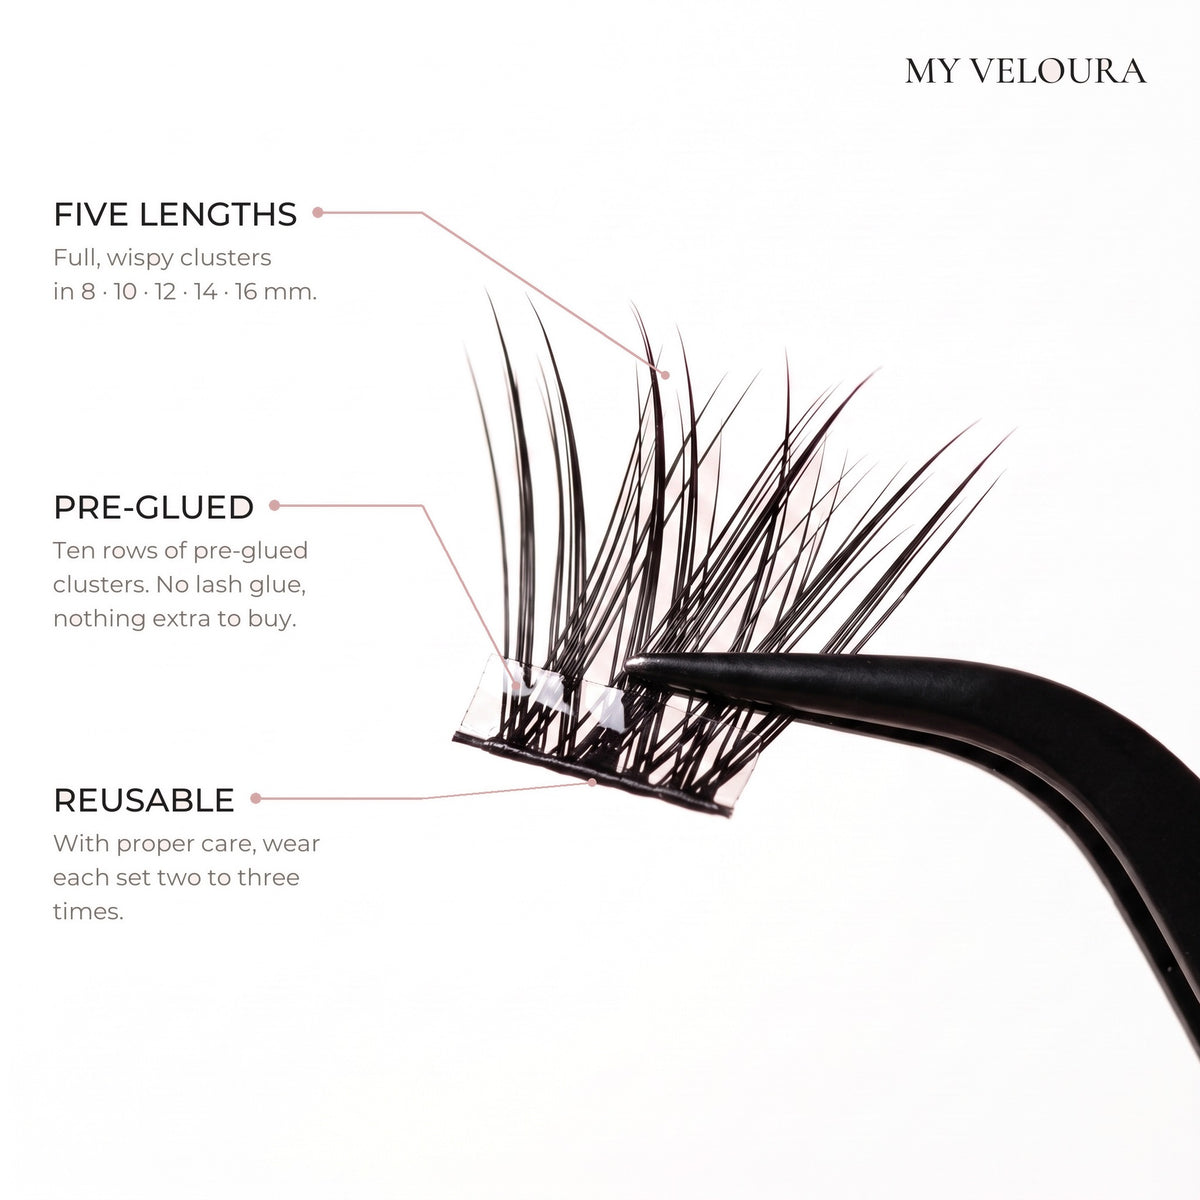
Each lash carries its own adhesive strip
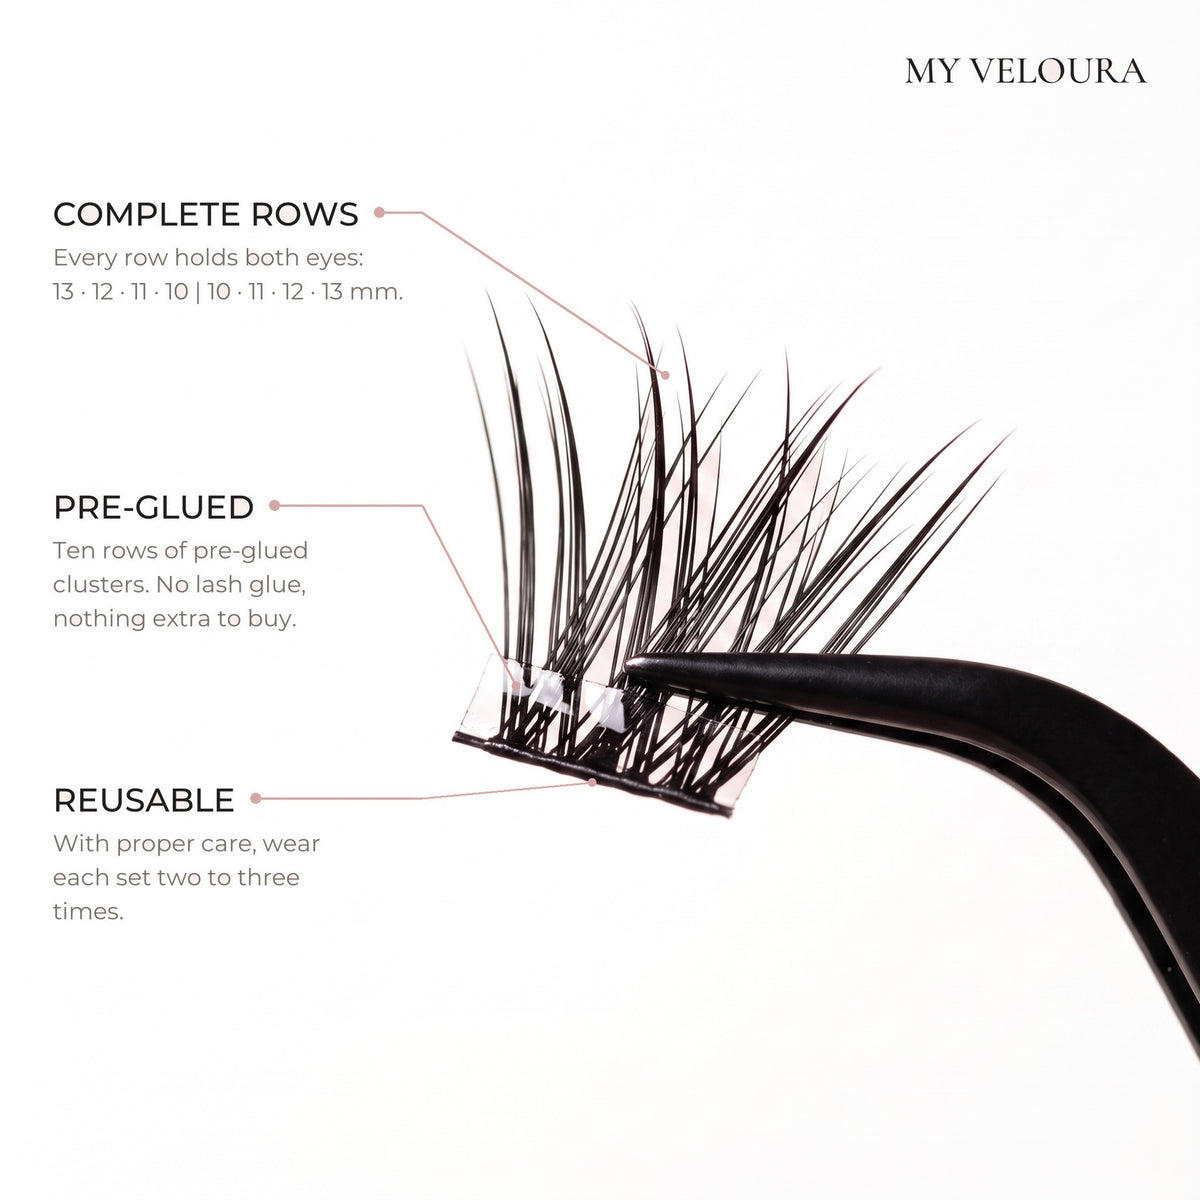
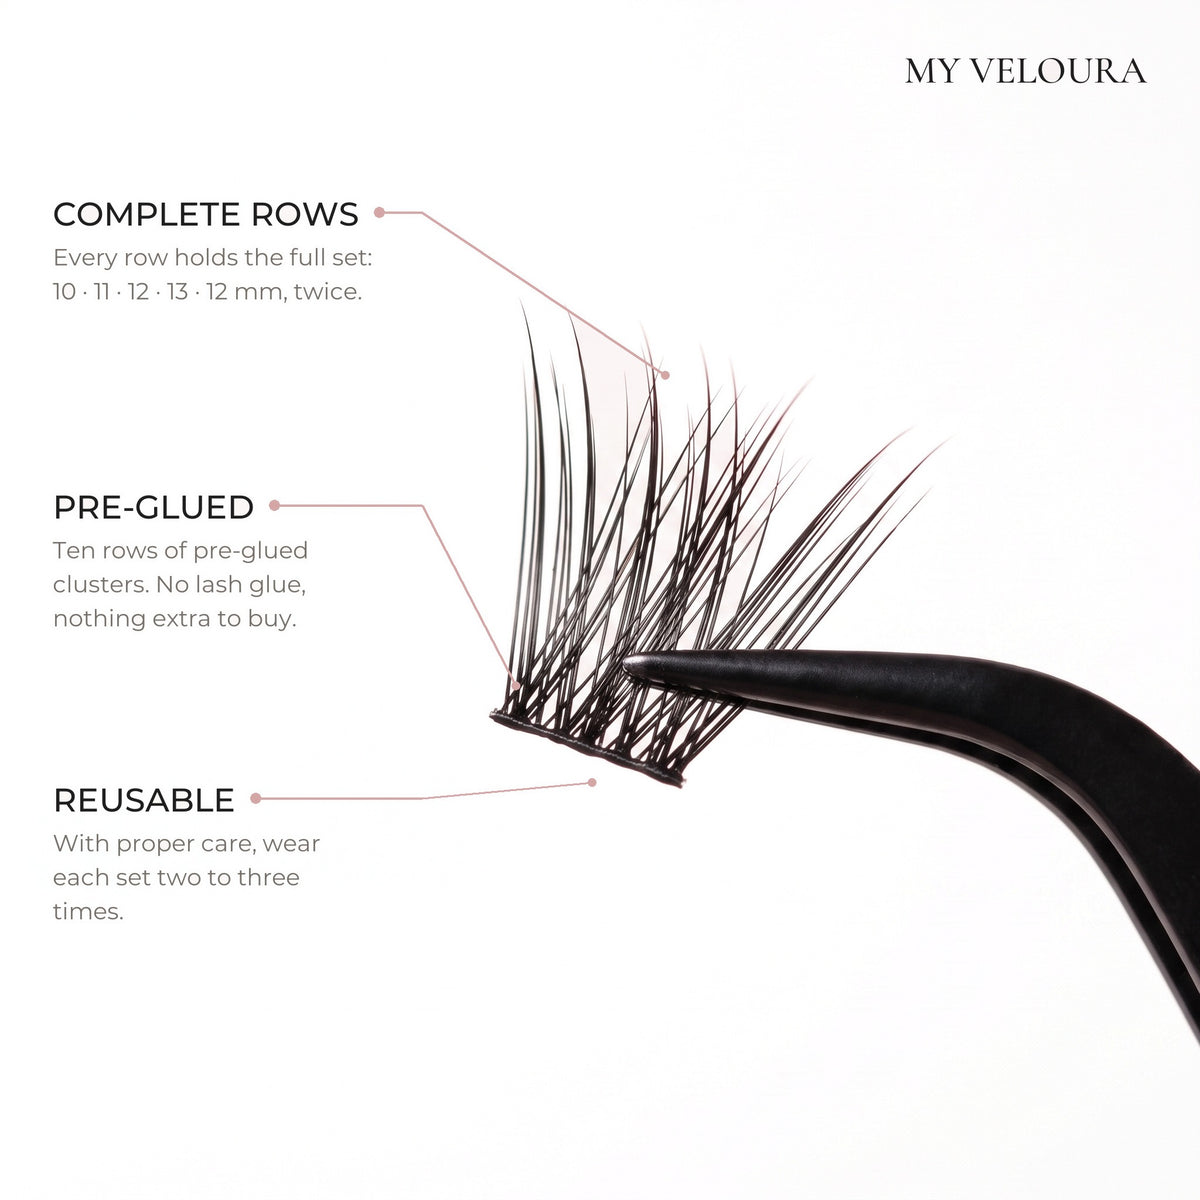
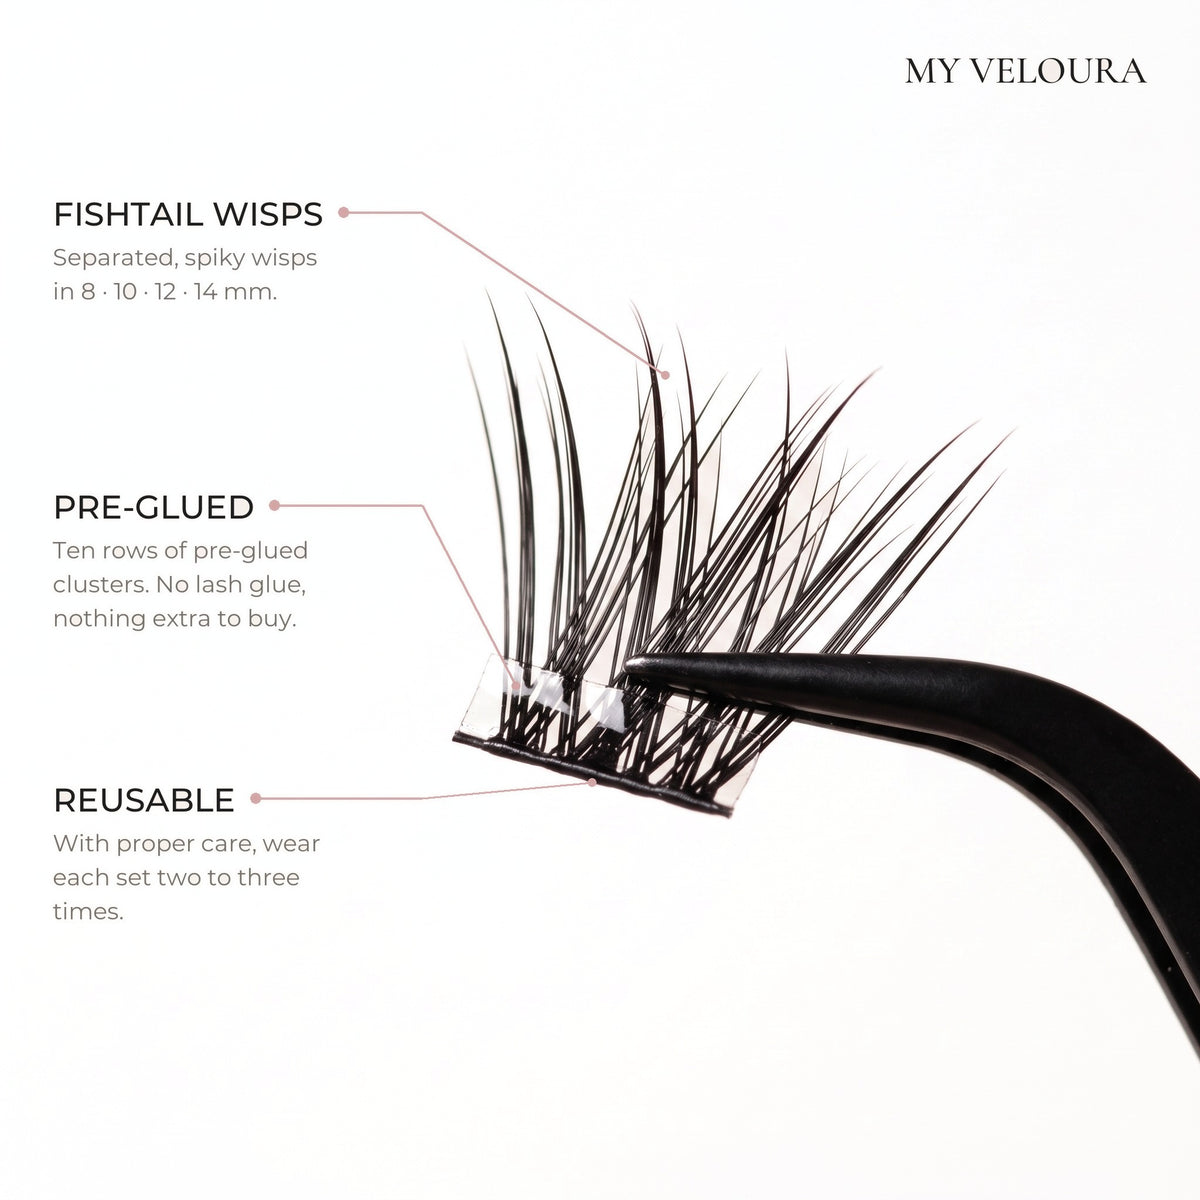
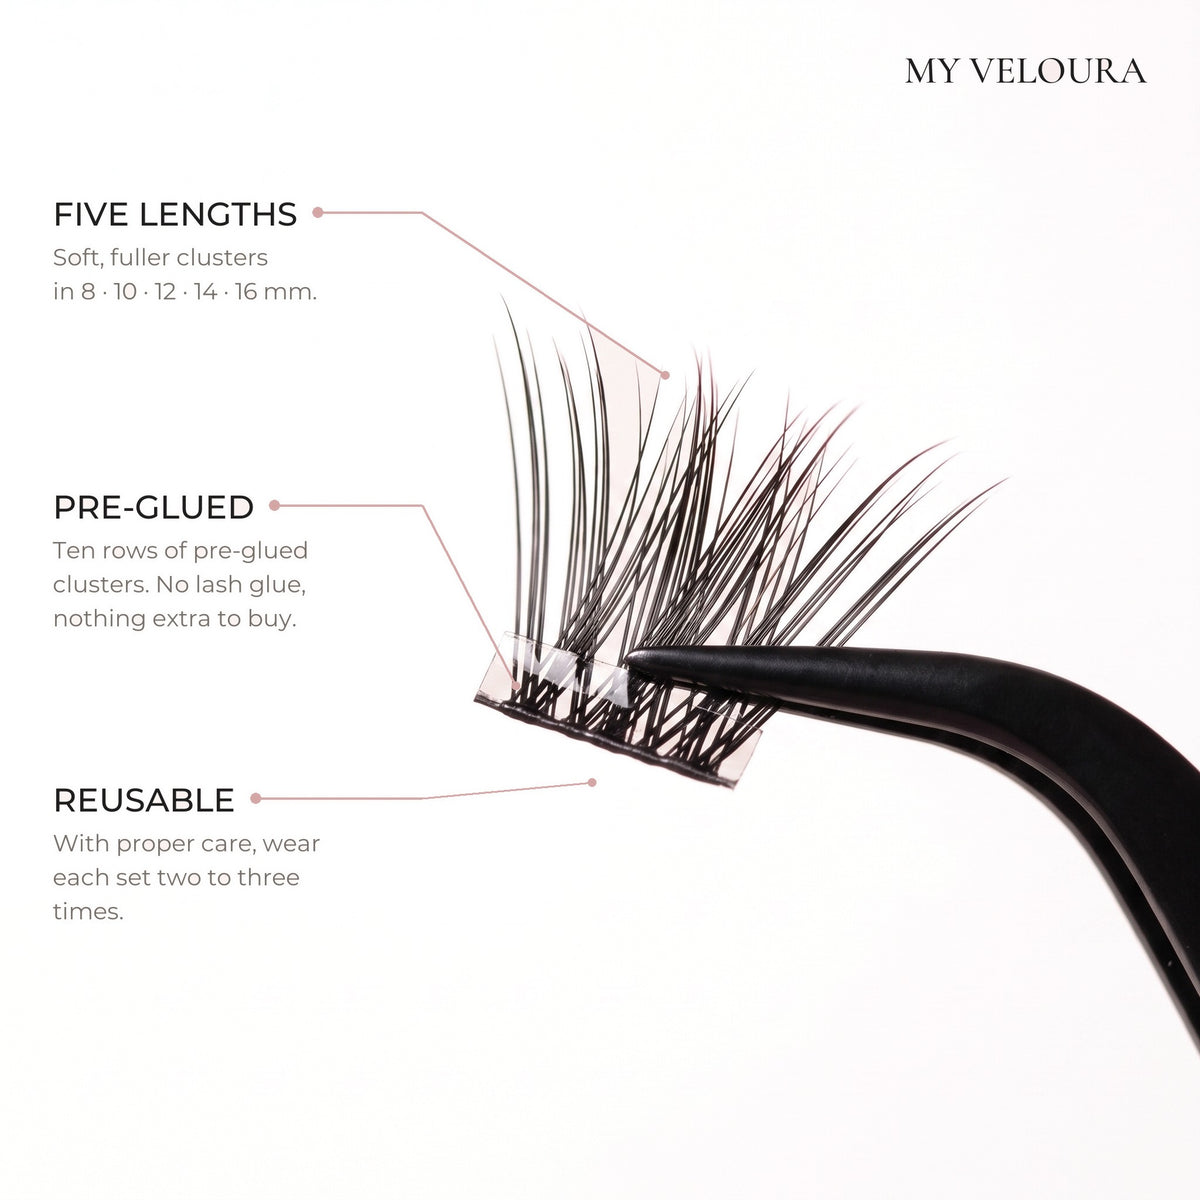
There is a small adhesive strip already on every single lash. That strip is what bonds it to your natural lashes, which is why there is no separate glue in the kit and nothing to buy alongside it. You pick a lash up, you press it on, and that is the whole mechanism.
The routine
Take your time the first go. It gets quicker after that.
Start clean and dry
Your natural lashes need to be clean and completely dry. Skip mascara, eye cream and oil based makeup remover beforehand.
The adhesive strip cannot grip anything oily. This one step prevents most application problems.
Plan your placement first
Lay the lashes out before you pick anything up, and work from the outer corner inwards. Longest at the outer edge, medium through the middle, shortest by the inner corner.
That graduation is what creates a lifted, open shape instead of a flat line.
Place from underneath
Pick a lash up with the tweezers and slide it under your natural lash line, as close to the root as you can comfortably get without touching your eyelid. The adhesive strip should meet your own lashes, not your skin.
Underneath rather than on top is the detail that separates an obvious lash from one that simply looks like your own, better.
Press and set
Gently squeeze the lash against your natural lashes for a few seconds so the strip settles. Repeat along the lash line until you are happy with the fullness, then press once more across the whole line.
Holding a few seconds longer than feels necessary is the difference between a set that lasts a day and one that lasts the week.
Removal and care
Taking them off
Never pull. Soften the bond first with warm water or an oil based cleanser, give it a moment to loosen, then slide the lashes away from your natural lashes.
Keeping them at their best
- Avoid oil based products around the eye area
- Pat the area dry rather than rubbing
- Try not to sleep face down into the pillow
- Store the tray closed and dry
If something is not sitting right
Almost always one of these four.
The outer corner lifts
Usually placement. Keep the lash just inside the outer edge of your natural lash line, and hold it a few seconds longer than the others. The corner takes the most movement during the day.
It will not stay on at all
Something oily on the lash line, nine times out of ten. Makeup remover, moisturiser and eye cream all leave a film. Wash, dry completely, then try again.
It looks like a strip rather than my own lashes
The lashes are probably sitting on top instead of underneath, or all the same length. Go under the natural lash line, and graduate from short at the inner corner to long at the outer.
It feels heavy on the eyelid
The lash is likely too close to the skin. It should meet your natural lashes, slightly away from the lid, so the weight sits on the lashes and not on you.
Still not right?
Tell us what happened and send a photo if you can. A real person reads every message, and we would rather help than have you struggle.
Email us